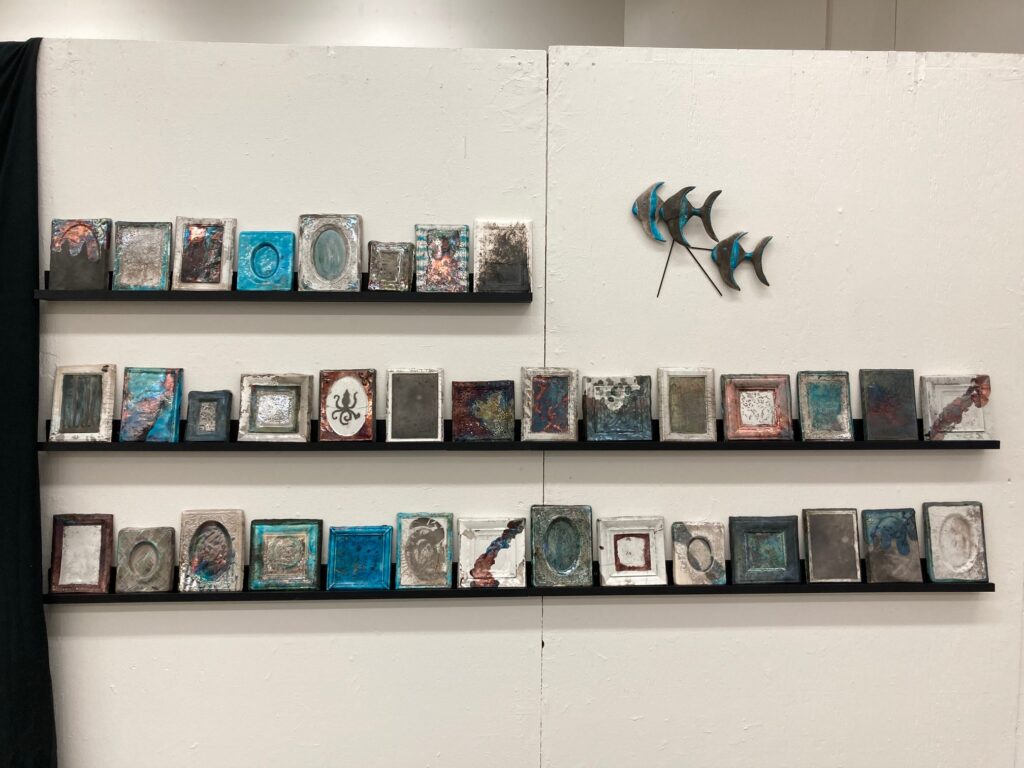
TECH EX 01: Sum of Its Parts
This is a group project with 1-part plaster mold, clay slip cast multiple, raku fired. Each student has a variation on a small picture frame to turn into a one-part plaster mold. These will be clay-slip molds for several casts in porcelain – each will be kiln-fired then raku fired, which will give the “glass” on each frame a unique finish. They will be hung collectively.
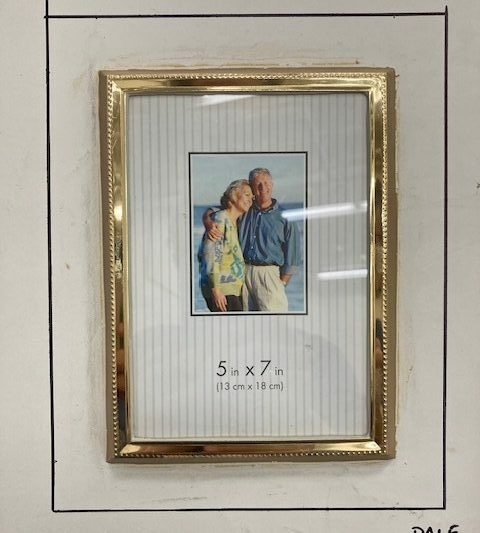
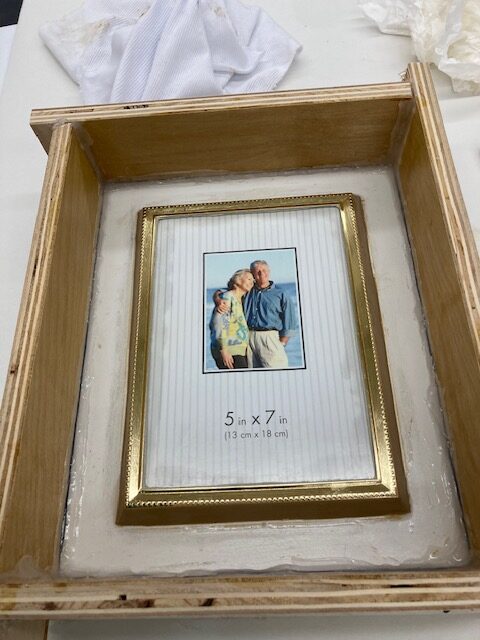
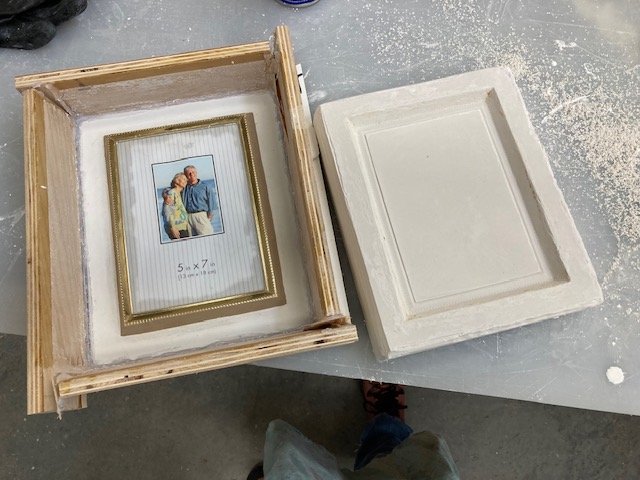
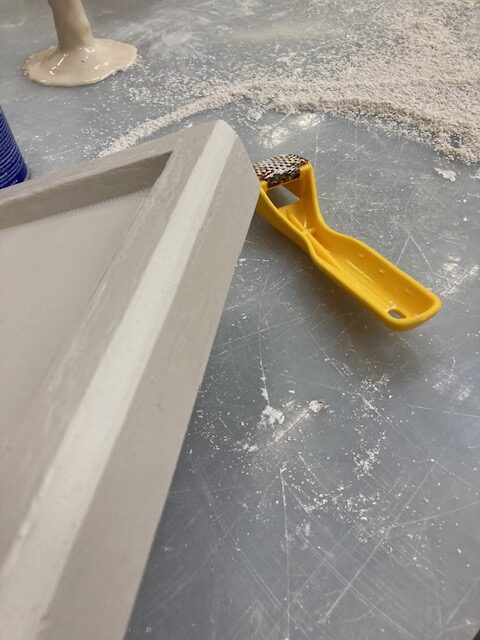
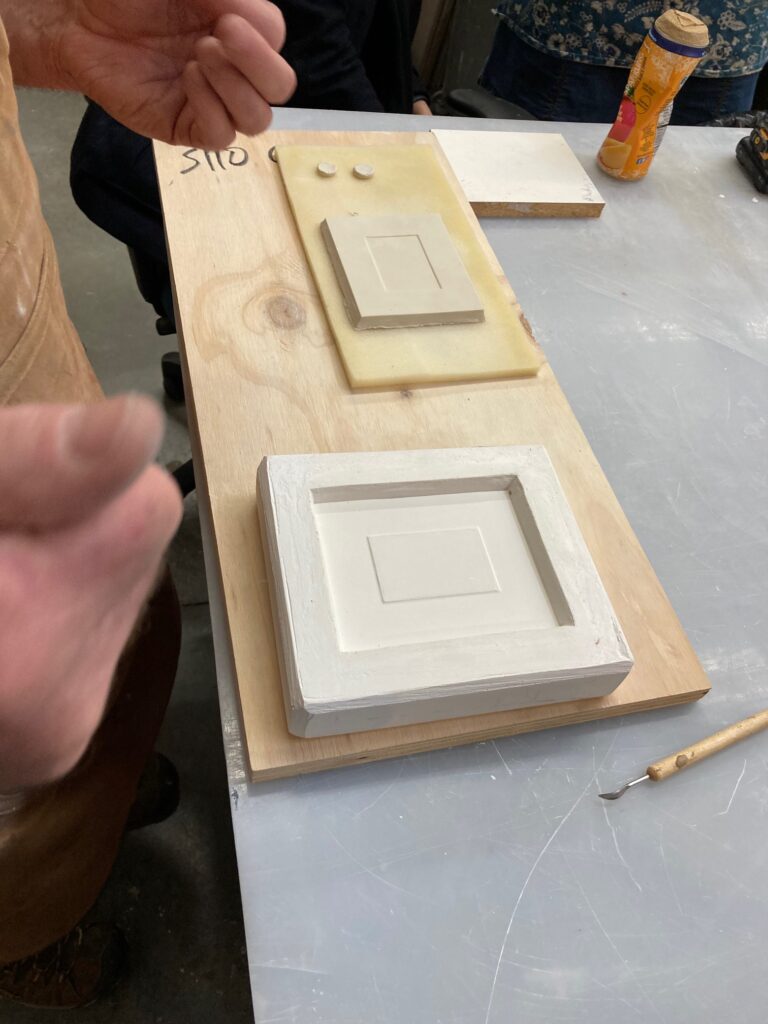
January 24th: picture frame treated with unsulfured clay to close up any spots where plaster can infiltrate or leak. Then glued to board, and bevelled edges fashioned to allow for easy unmolding of the cast object. Ready for coddle (sides of mold) to be made next week.
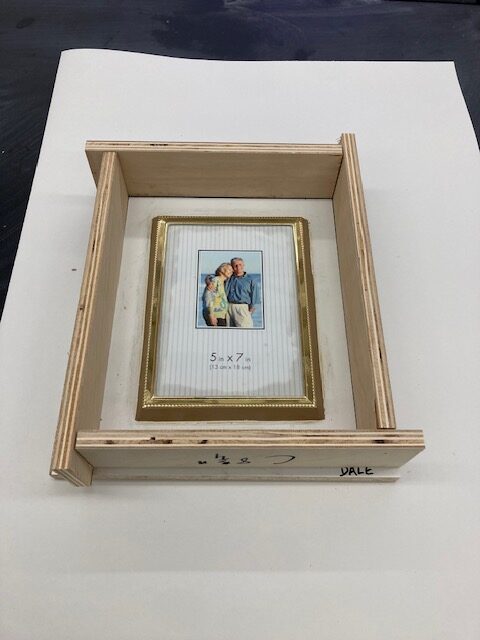
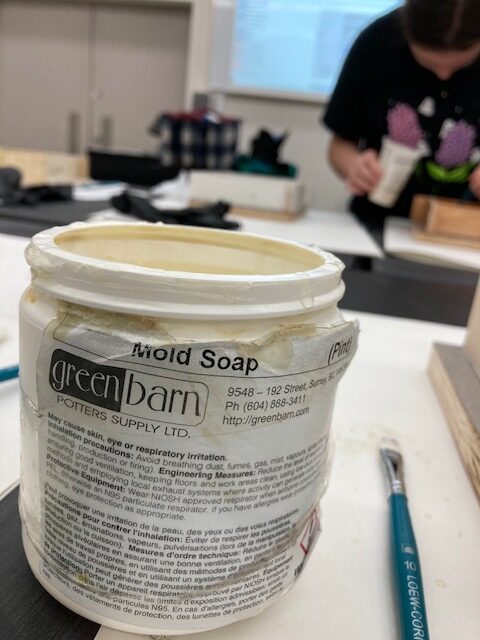
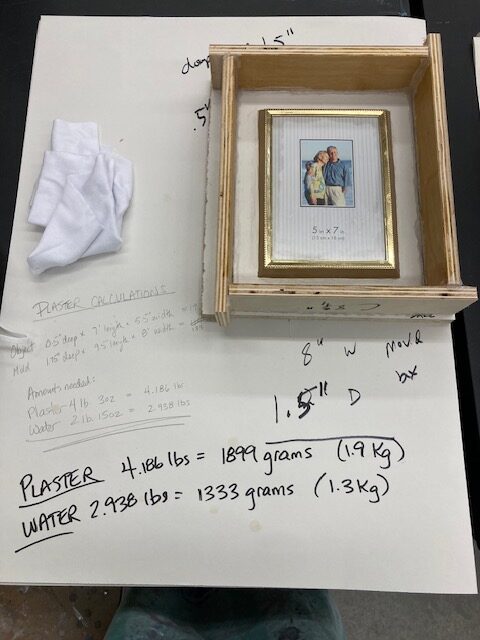
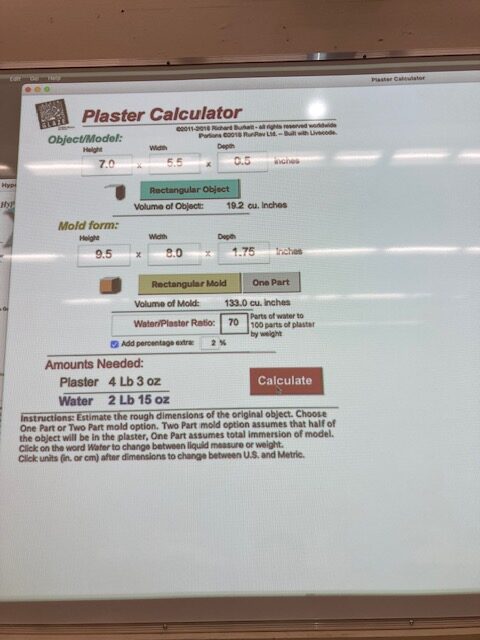
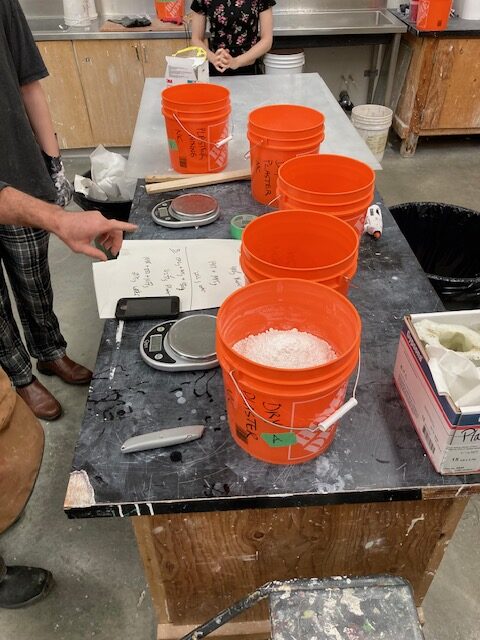
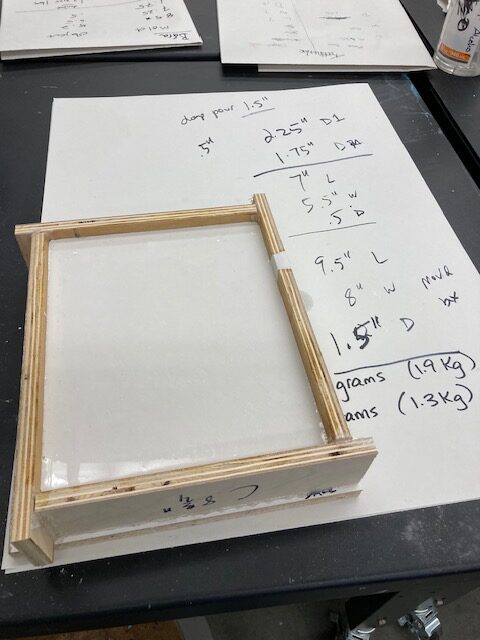
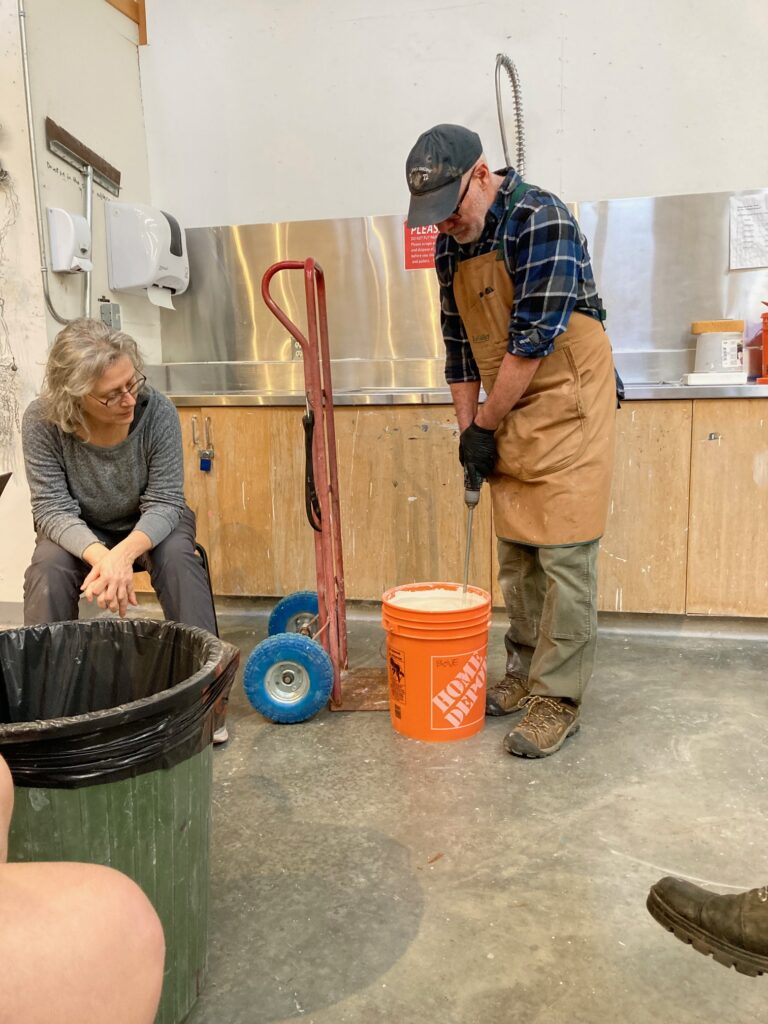
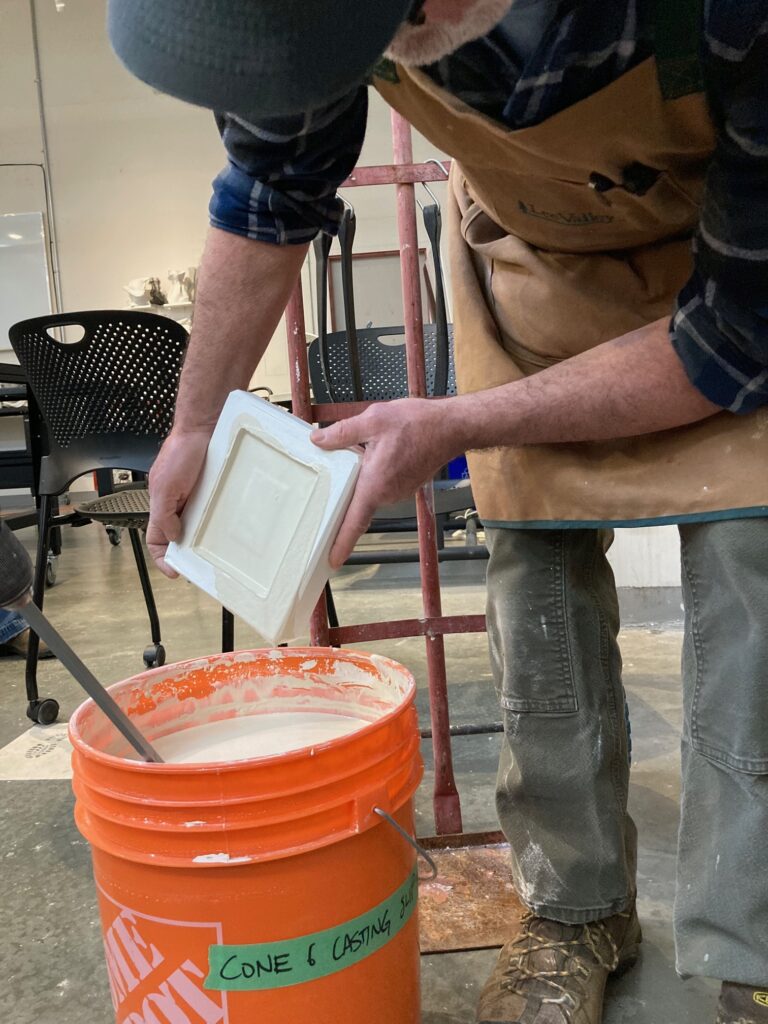
January 31 … in-class make coddle, seal all edges with hot glue, then 3 coats of mold soap with 20 minutes between coats and light buff before next coat each time. Very liberally applied to the bare wood of the side walls, as plaster can soak in there. More buffing done for light layer only on the frame and the painted floor of the coddle. Plaster calculations to fill mold such that plaster will be even thickness on all sides of the object, therefore we are filling the coddle to approx 1.75 inch to make a generous 1 inch on top of the object, matching side thicknesses a generous 1 inch. Class pour of several molds at once.
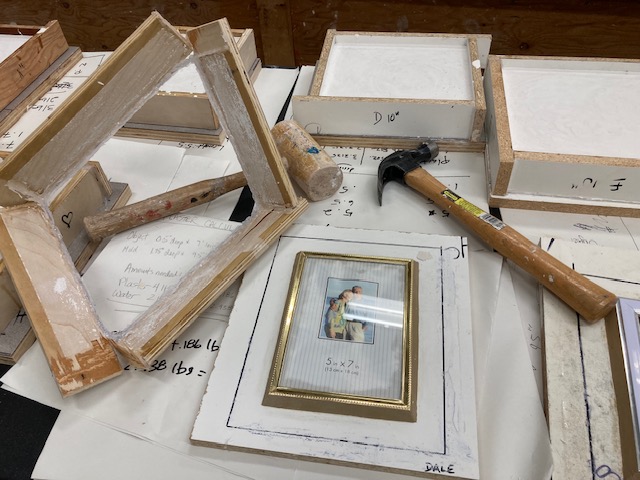
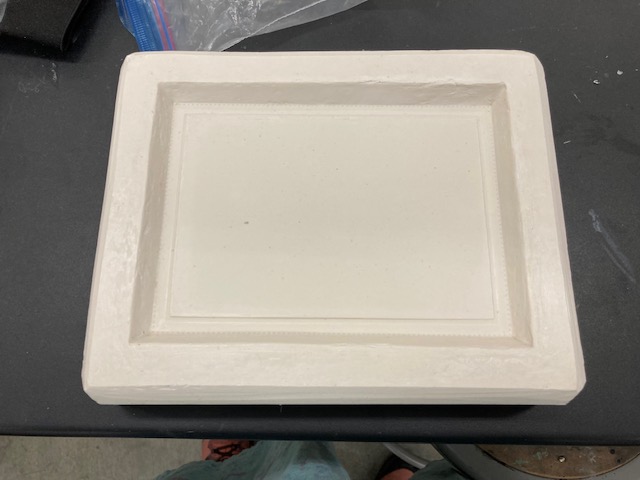
2 days later – returned to unmold the plaster…
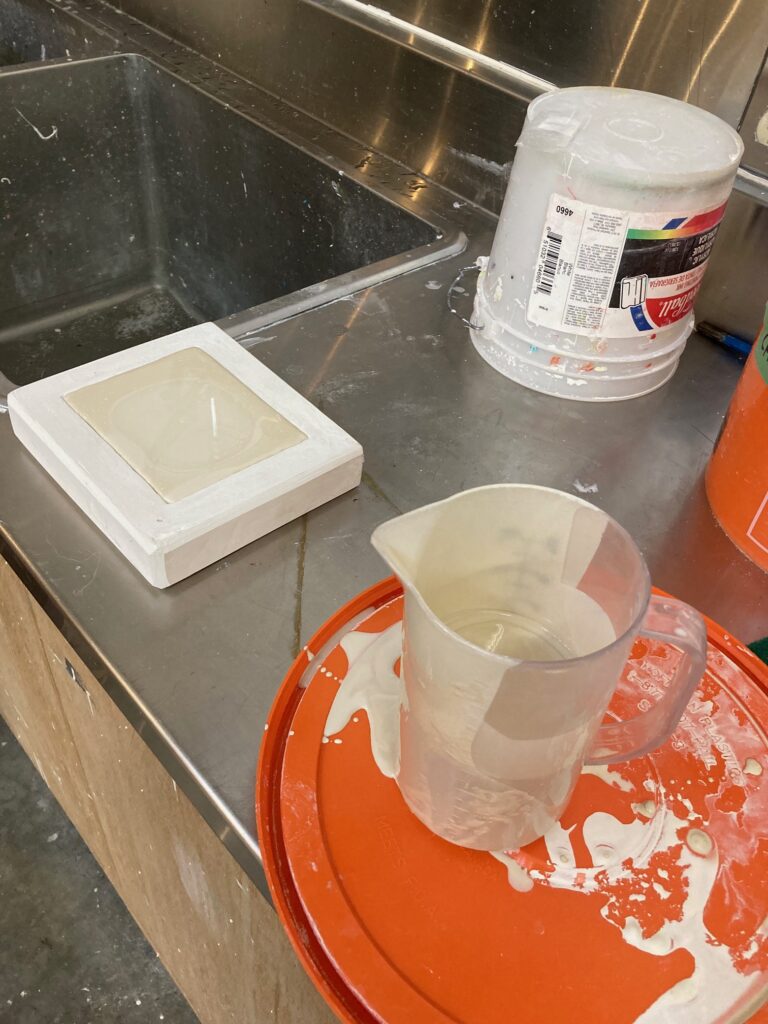
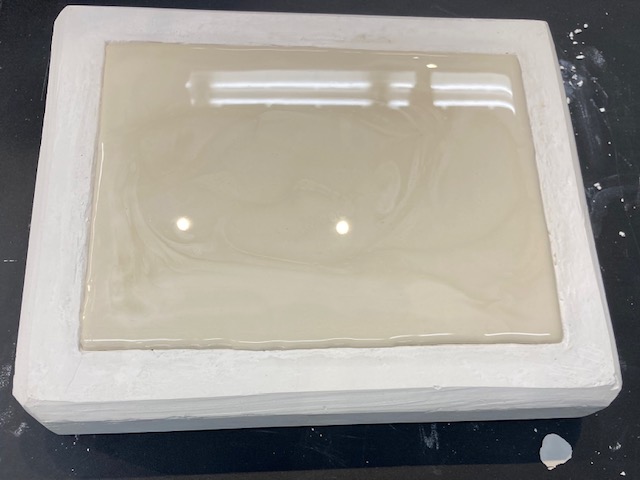
Feb 7 – demo of clay slip casting
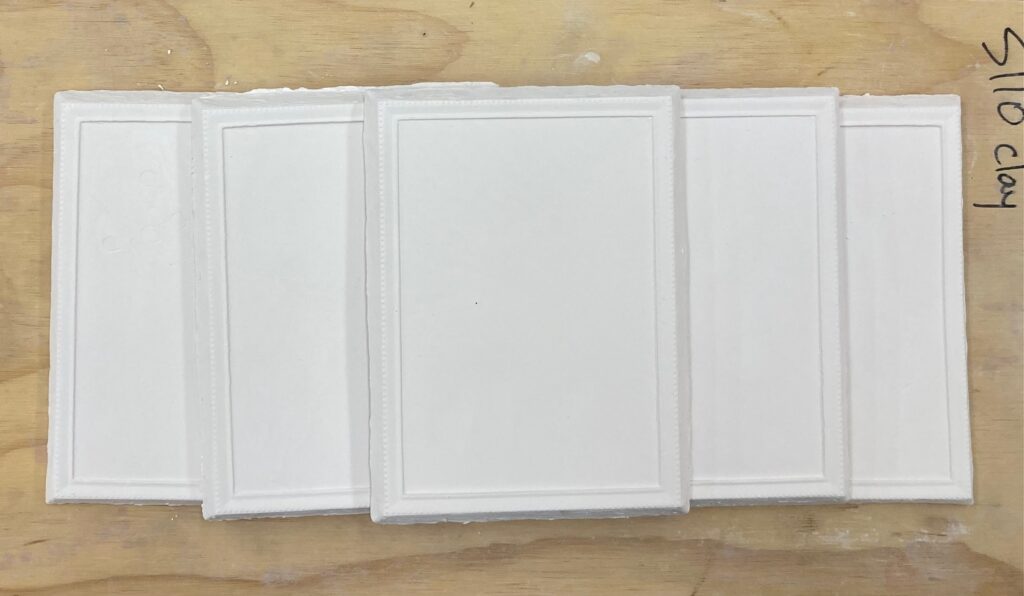
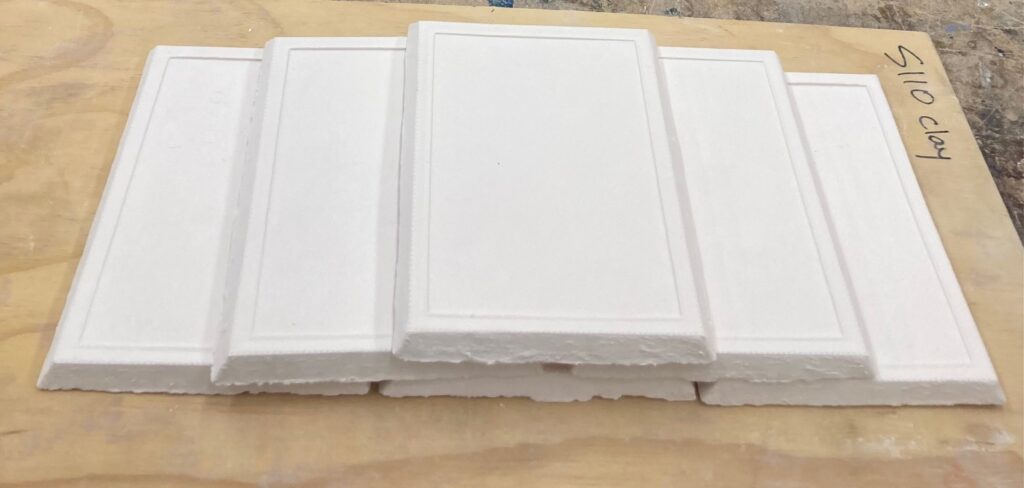
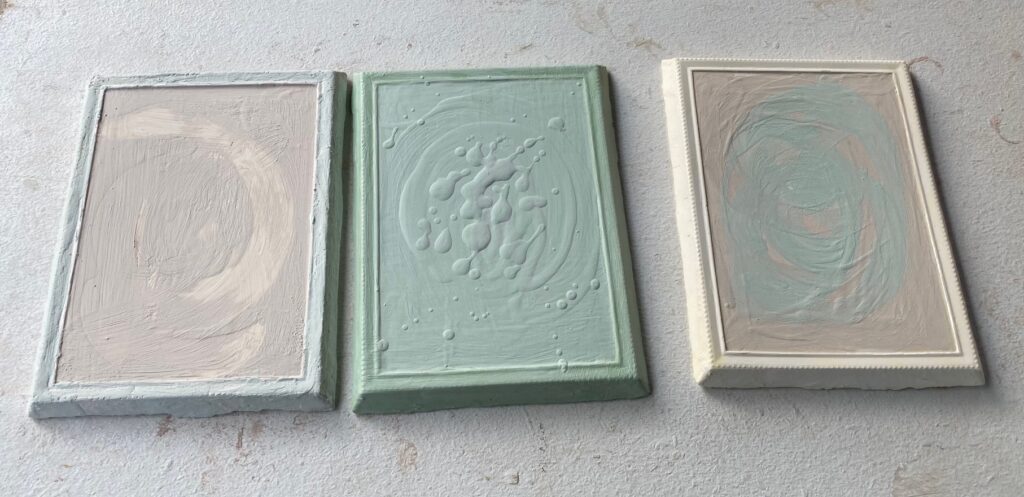
Feb 14 in-class: 4 slip castings completed: photos below. Plan 2 more next week.

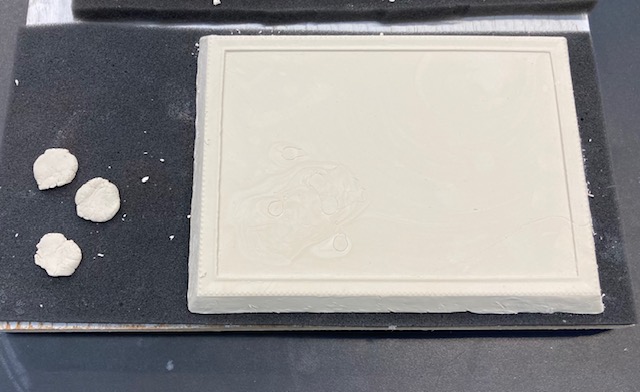
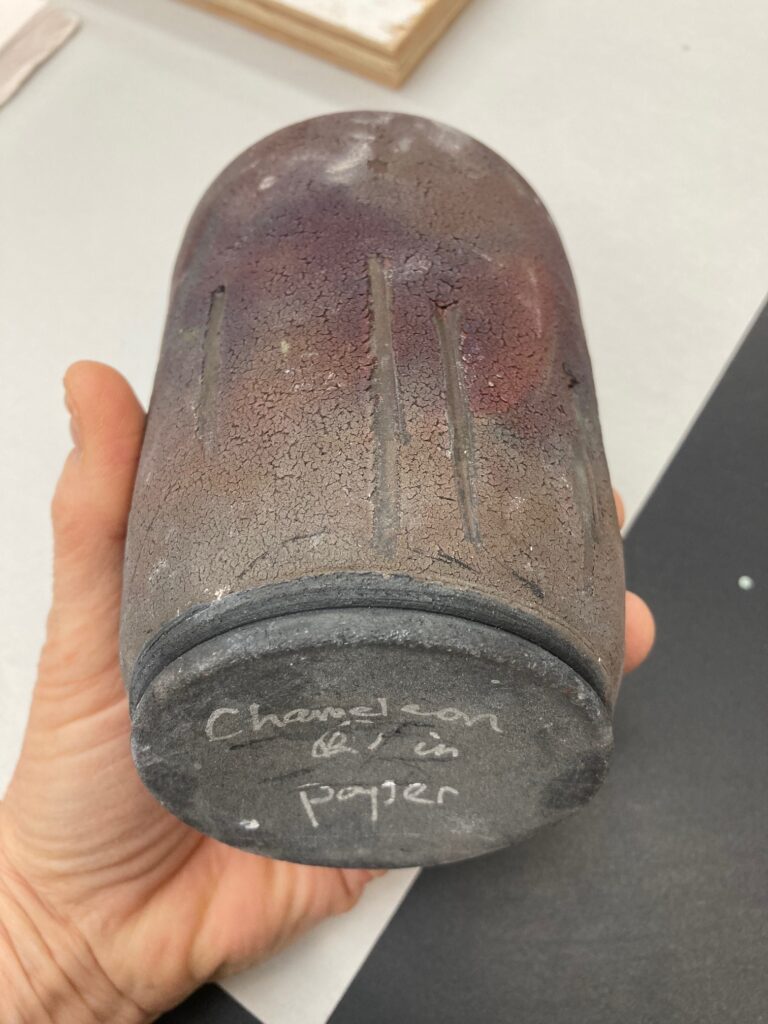
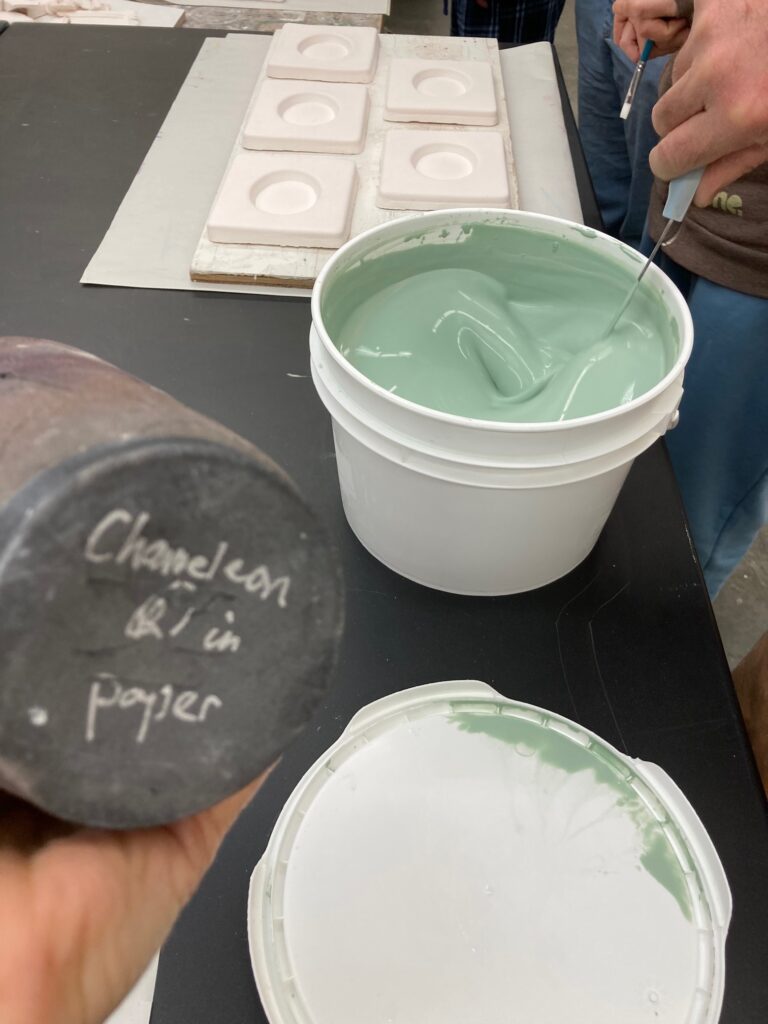
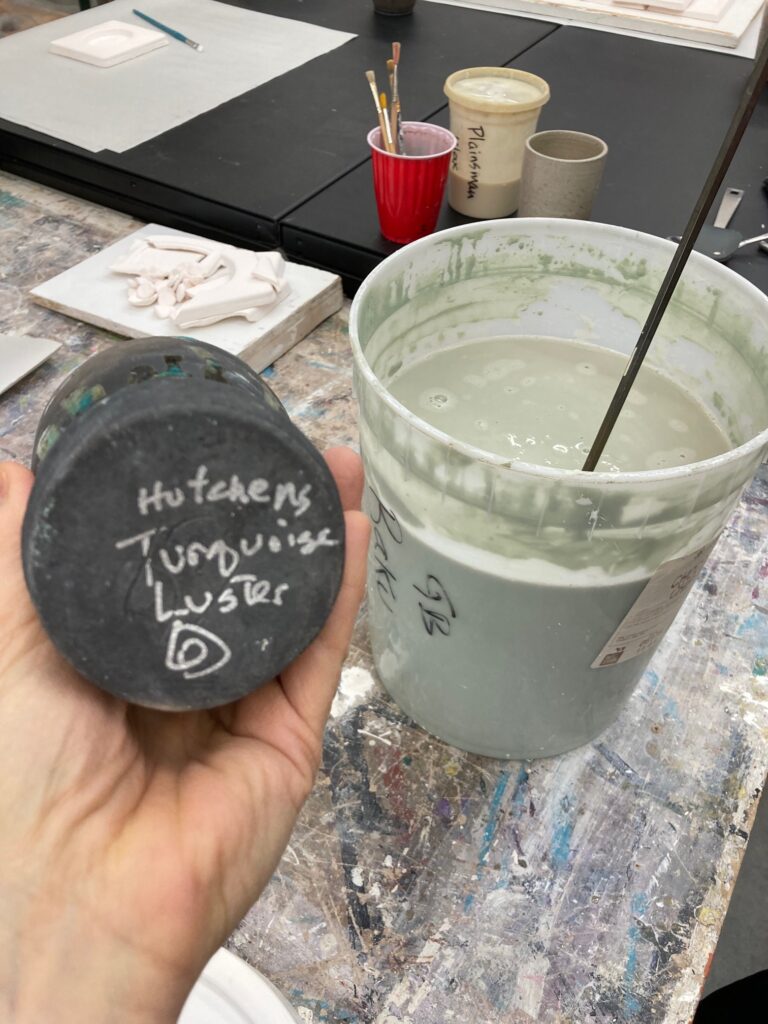
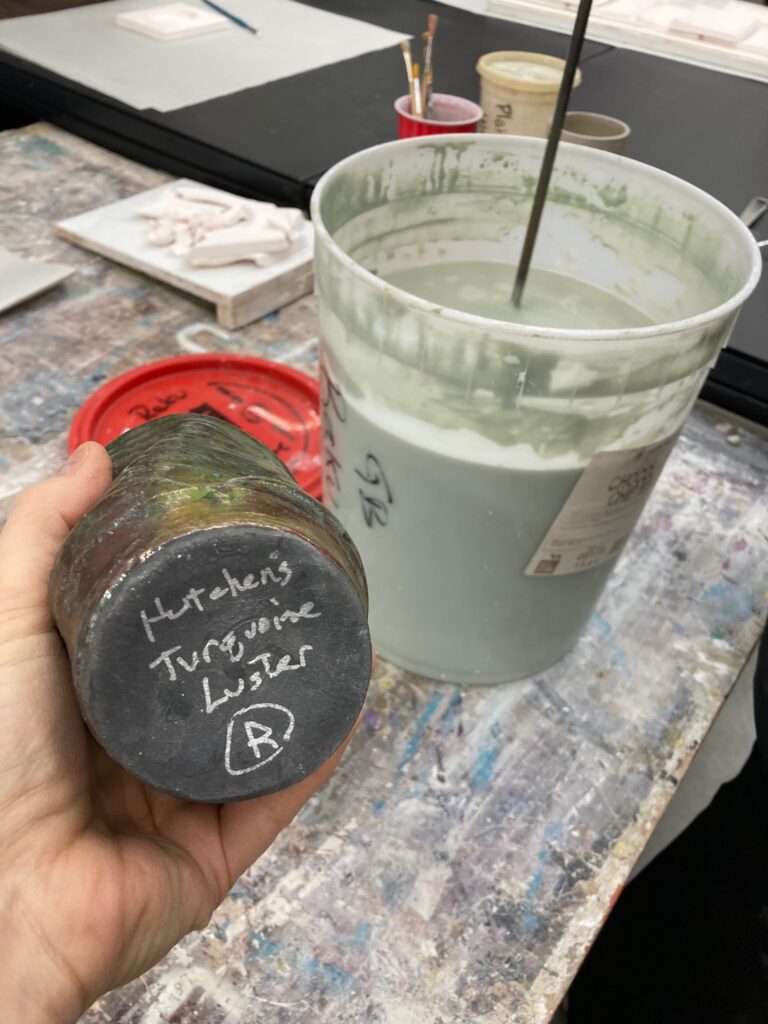
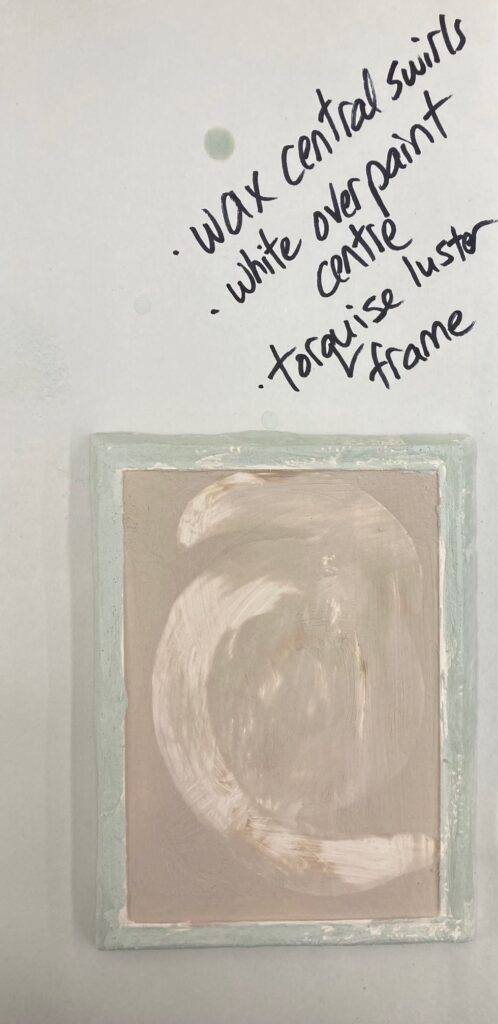
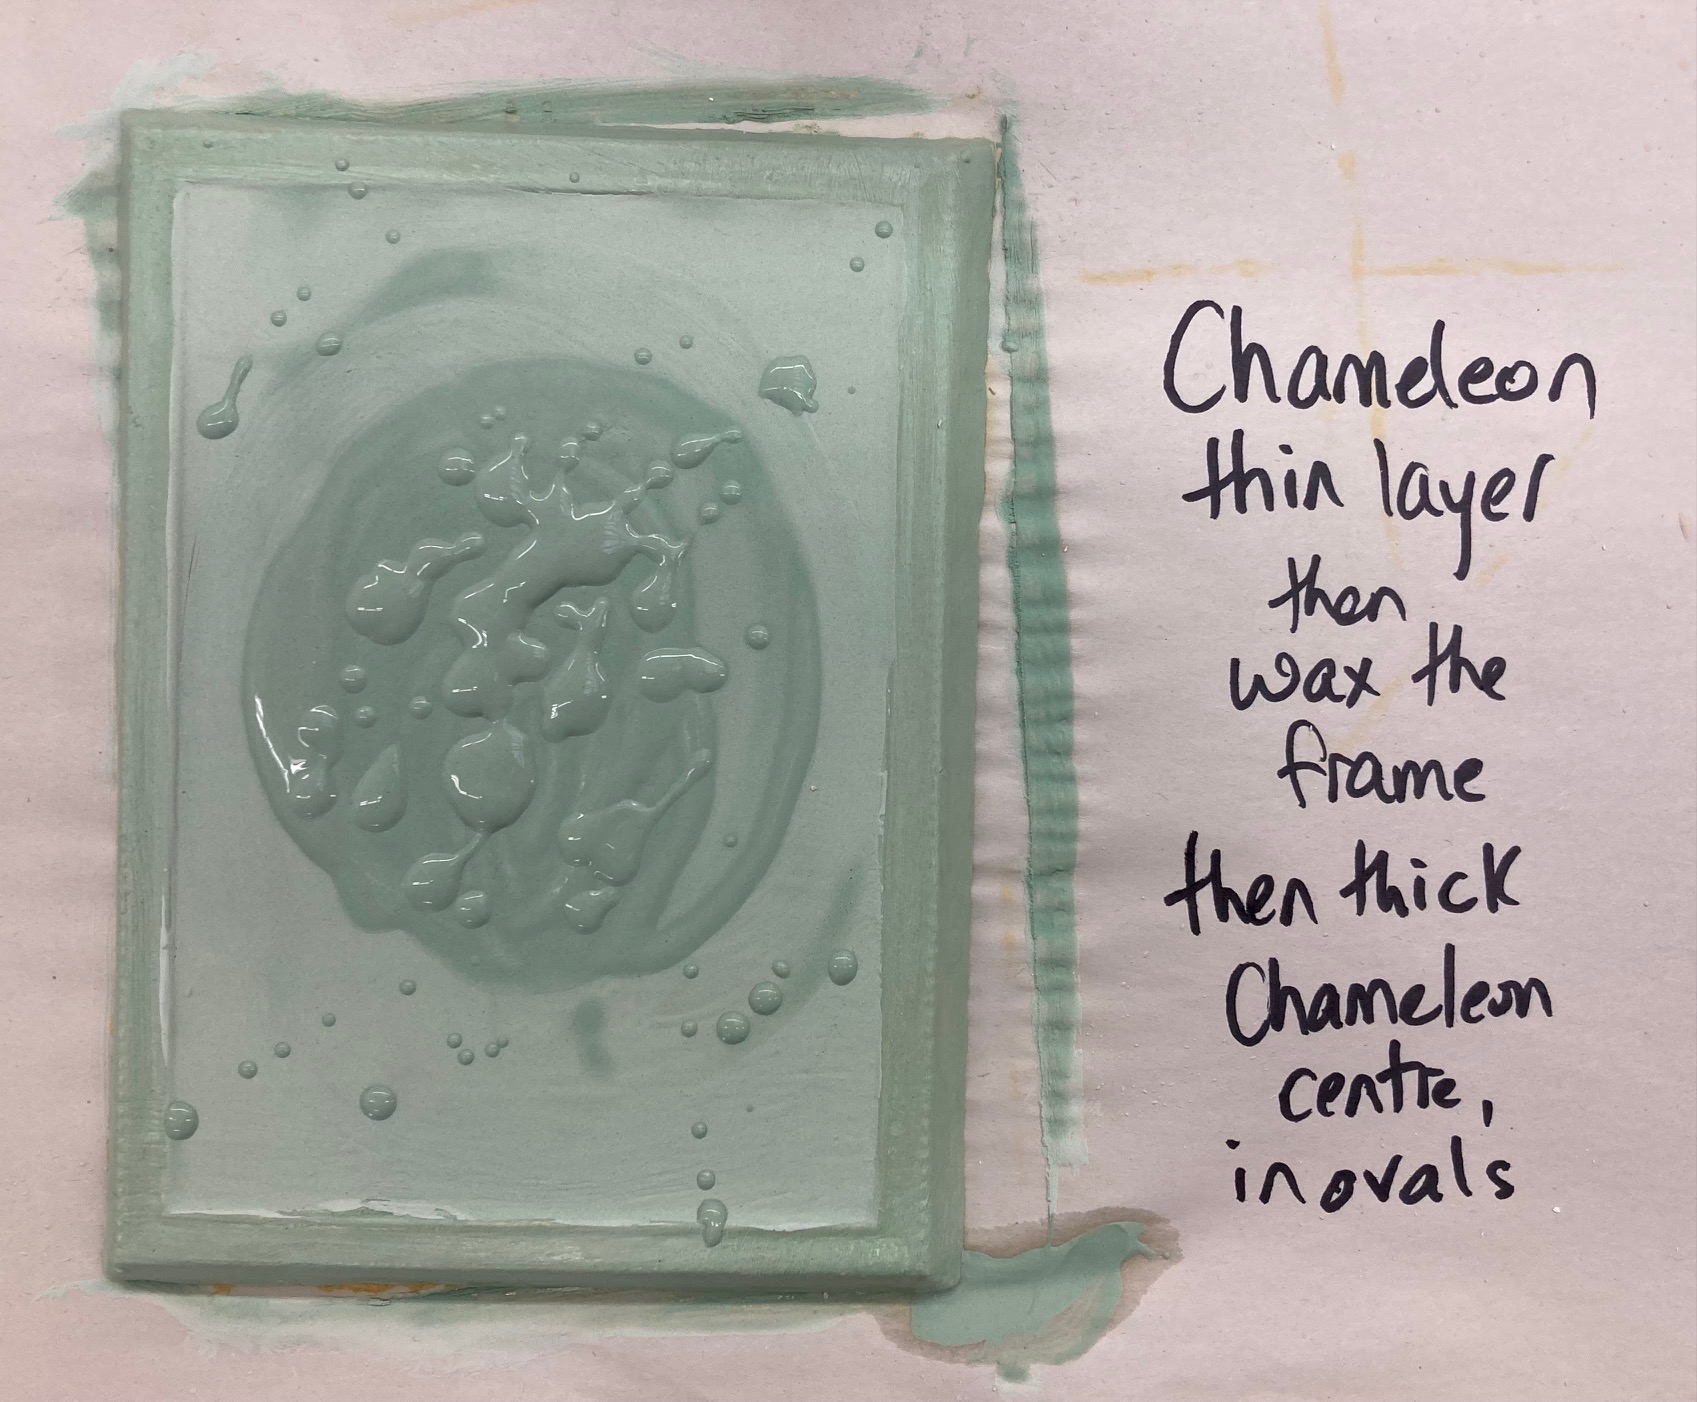
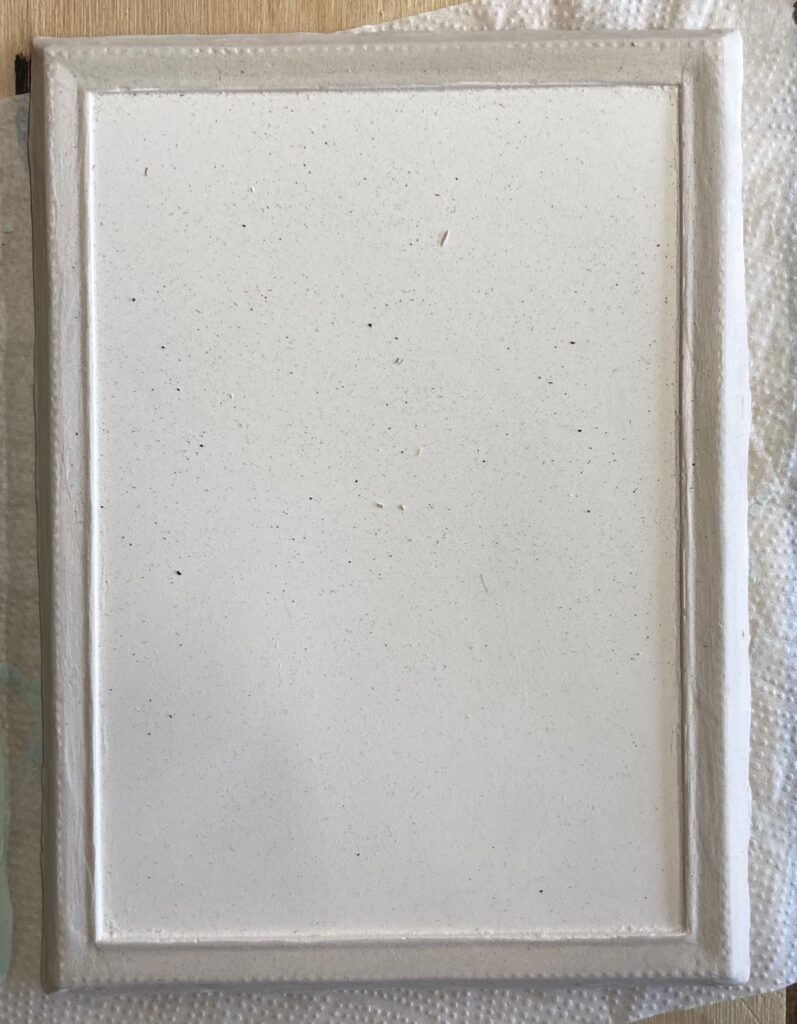
March 6: Jeff did bisque firing on the frames we made. I had six completed to work with. Today we had the option to glaze 3 or 4 of them, for raku firing next week. There were four options, we had samples of each to look at: Chameleon, Turquoise Luster, Clear, and White. The glaze alone doesn’t make the finish — there will be further steps in the firing.

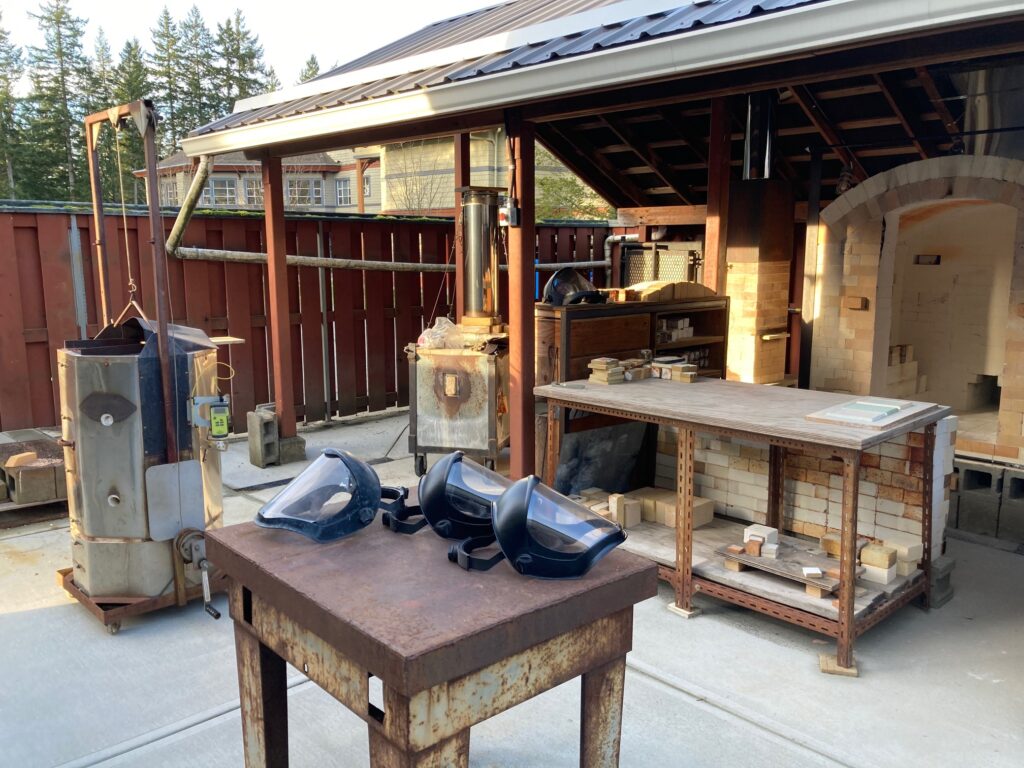
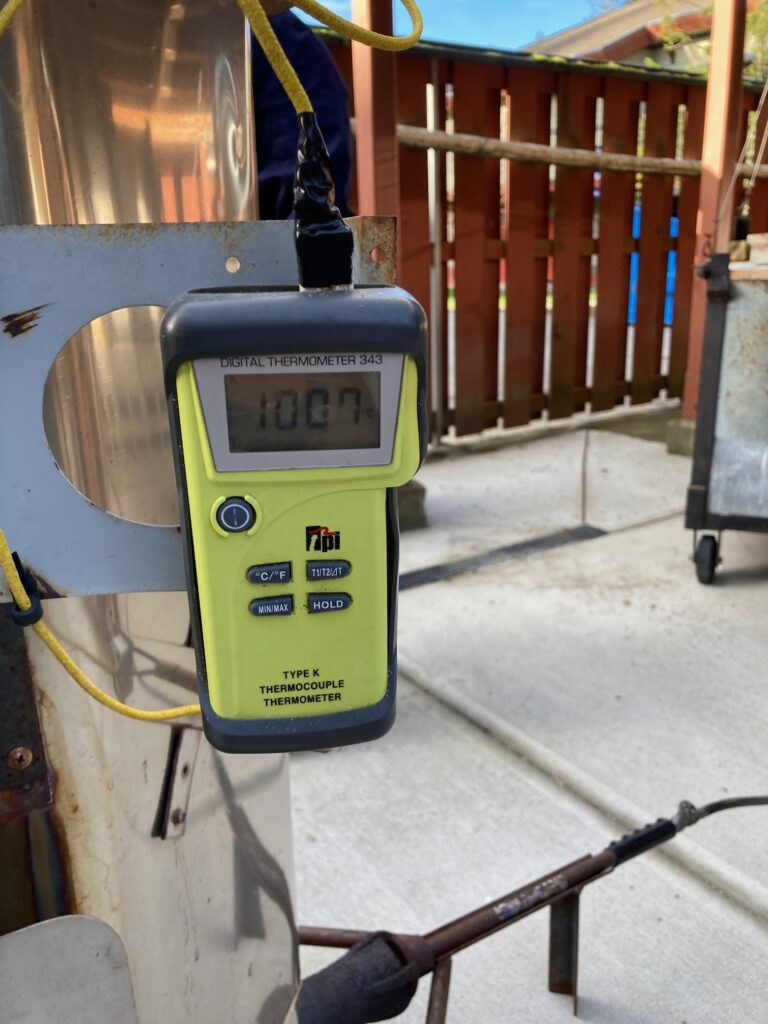
March 13: Raku firing
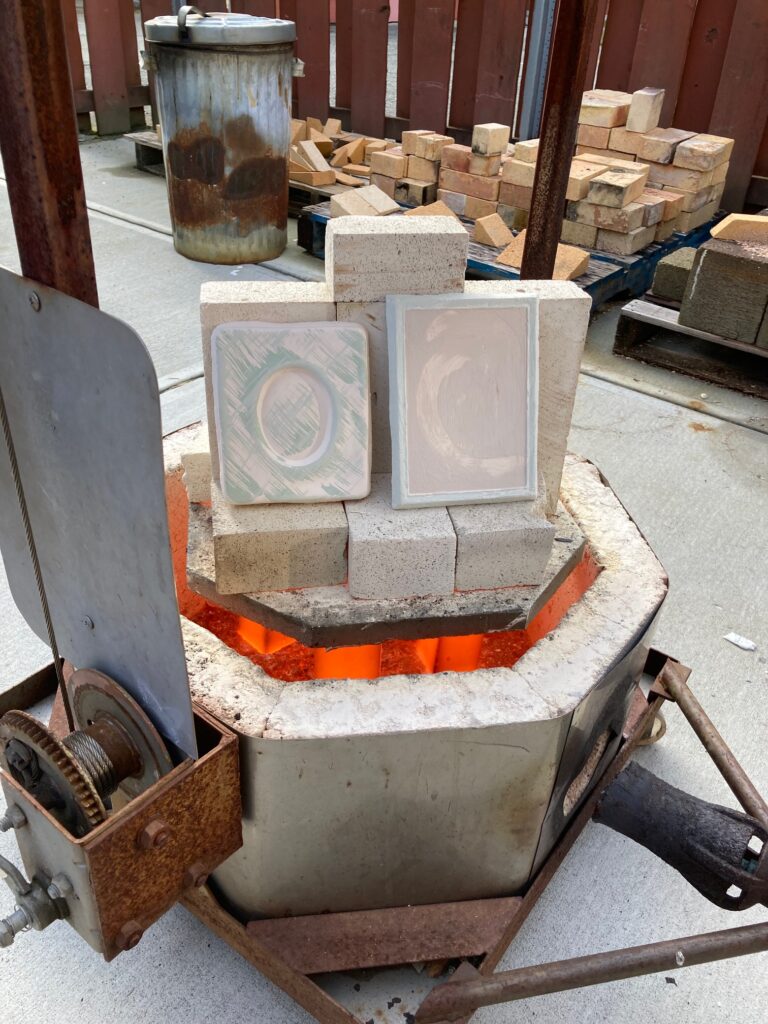


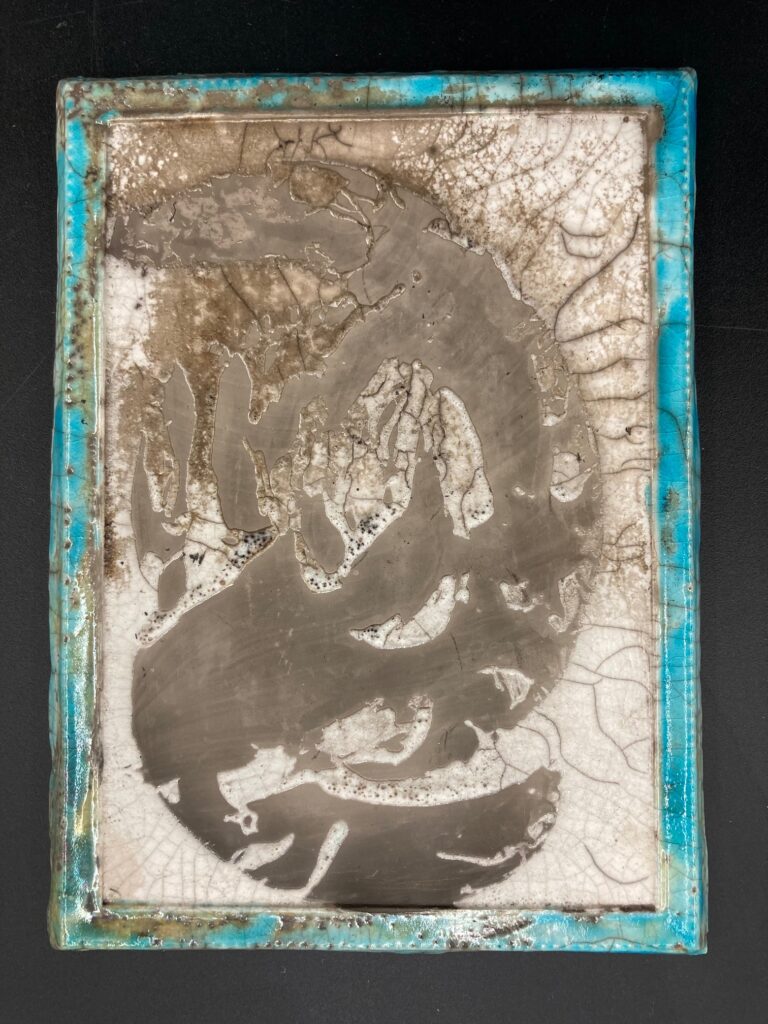
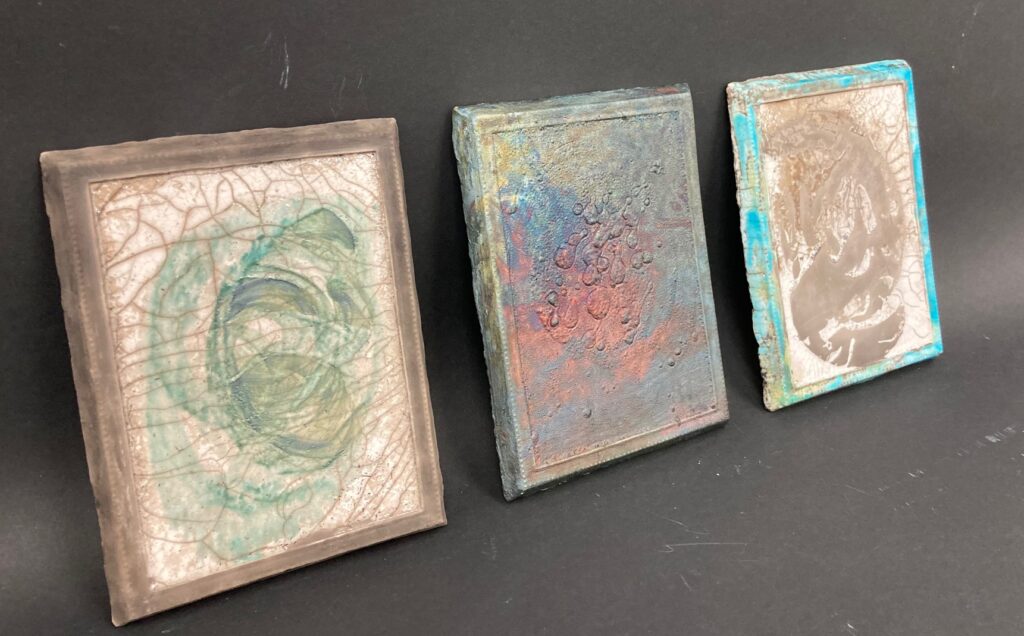
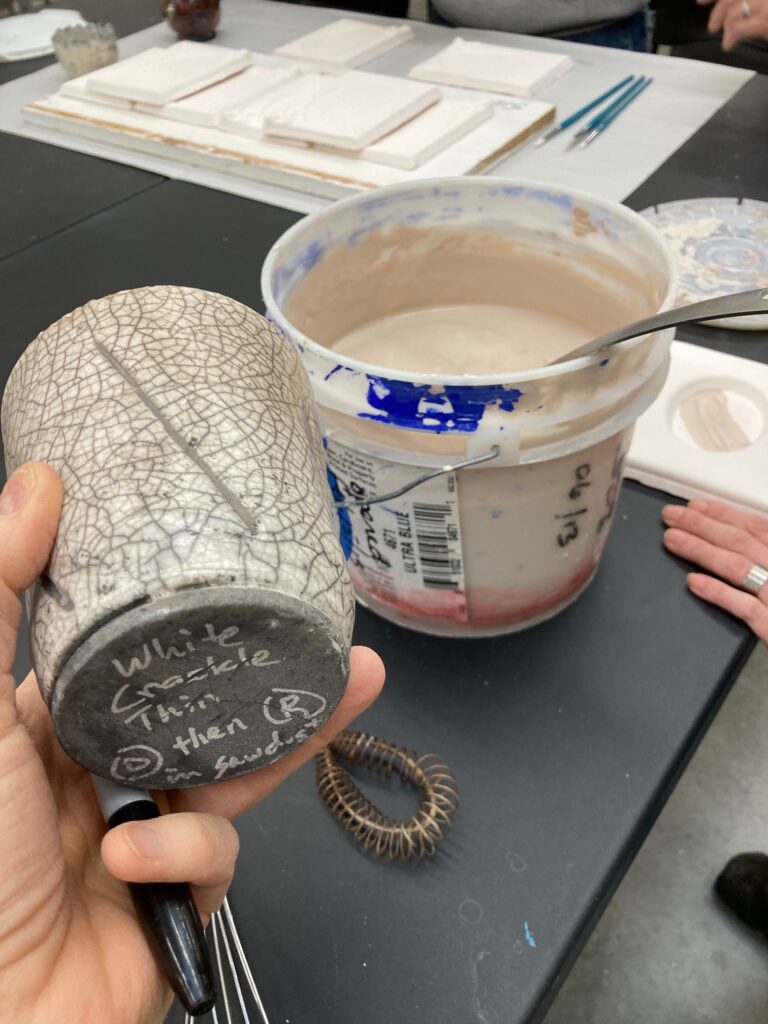
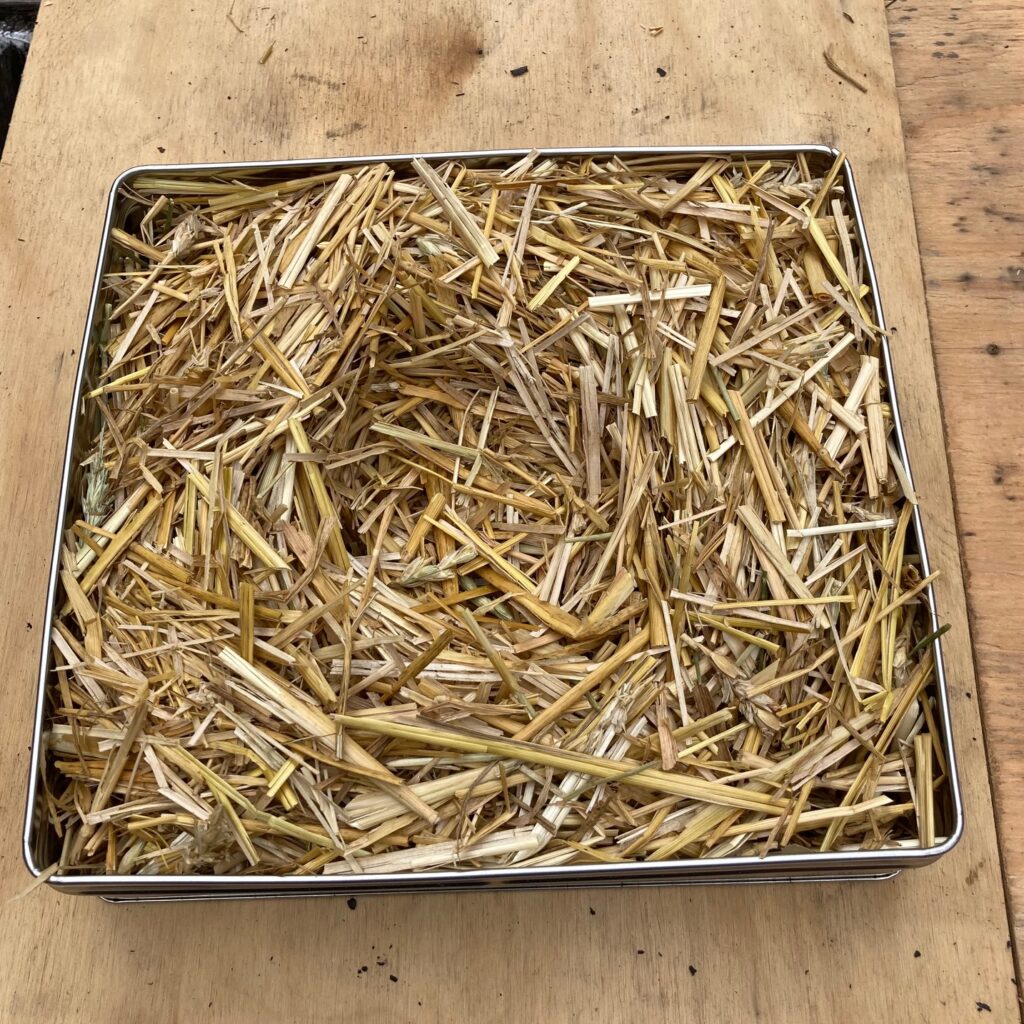
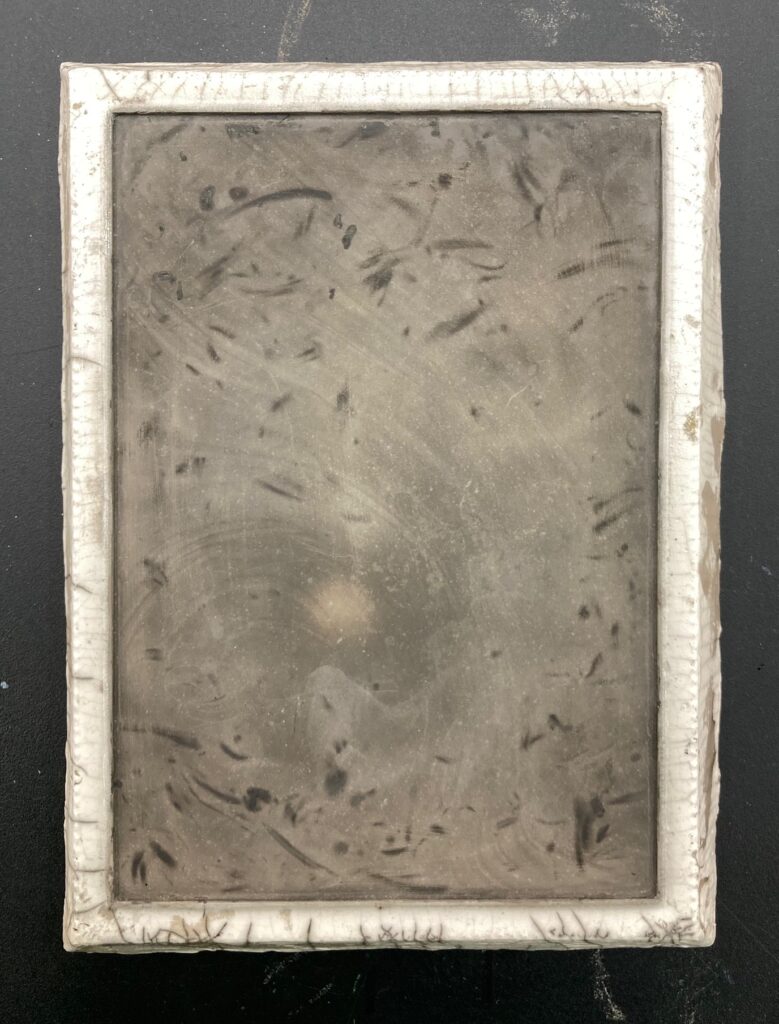
There was time a few weeks later to do another raku firing, so I was able to fire the fourth one I had glazed originally, plus a new one from scratch. I was intrigued with the idea of getting combustibles on to the surface in a design, so decided to glaze only the “frame” part of the object, then place the “picture” part face down into a prepared bed of straw immediately out of the kiln. I left a “hole” in the centre of the straw, hoping to get a circle pattern to echo some of my other pieces. Photos below give you the idea…
Upcoming: these will be mounted en masse with the whole class, a true rogues’ gallery!