Paper Bag Play:


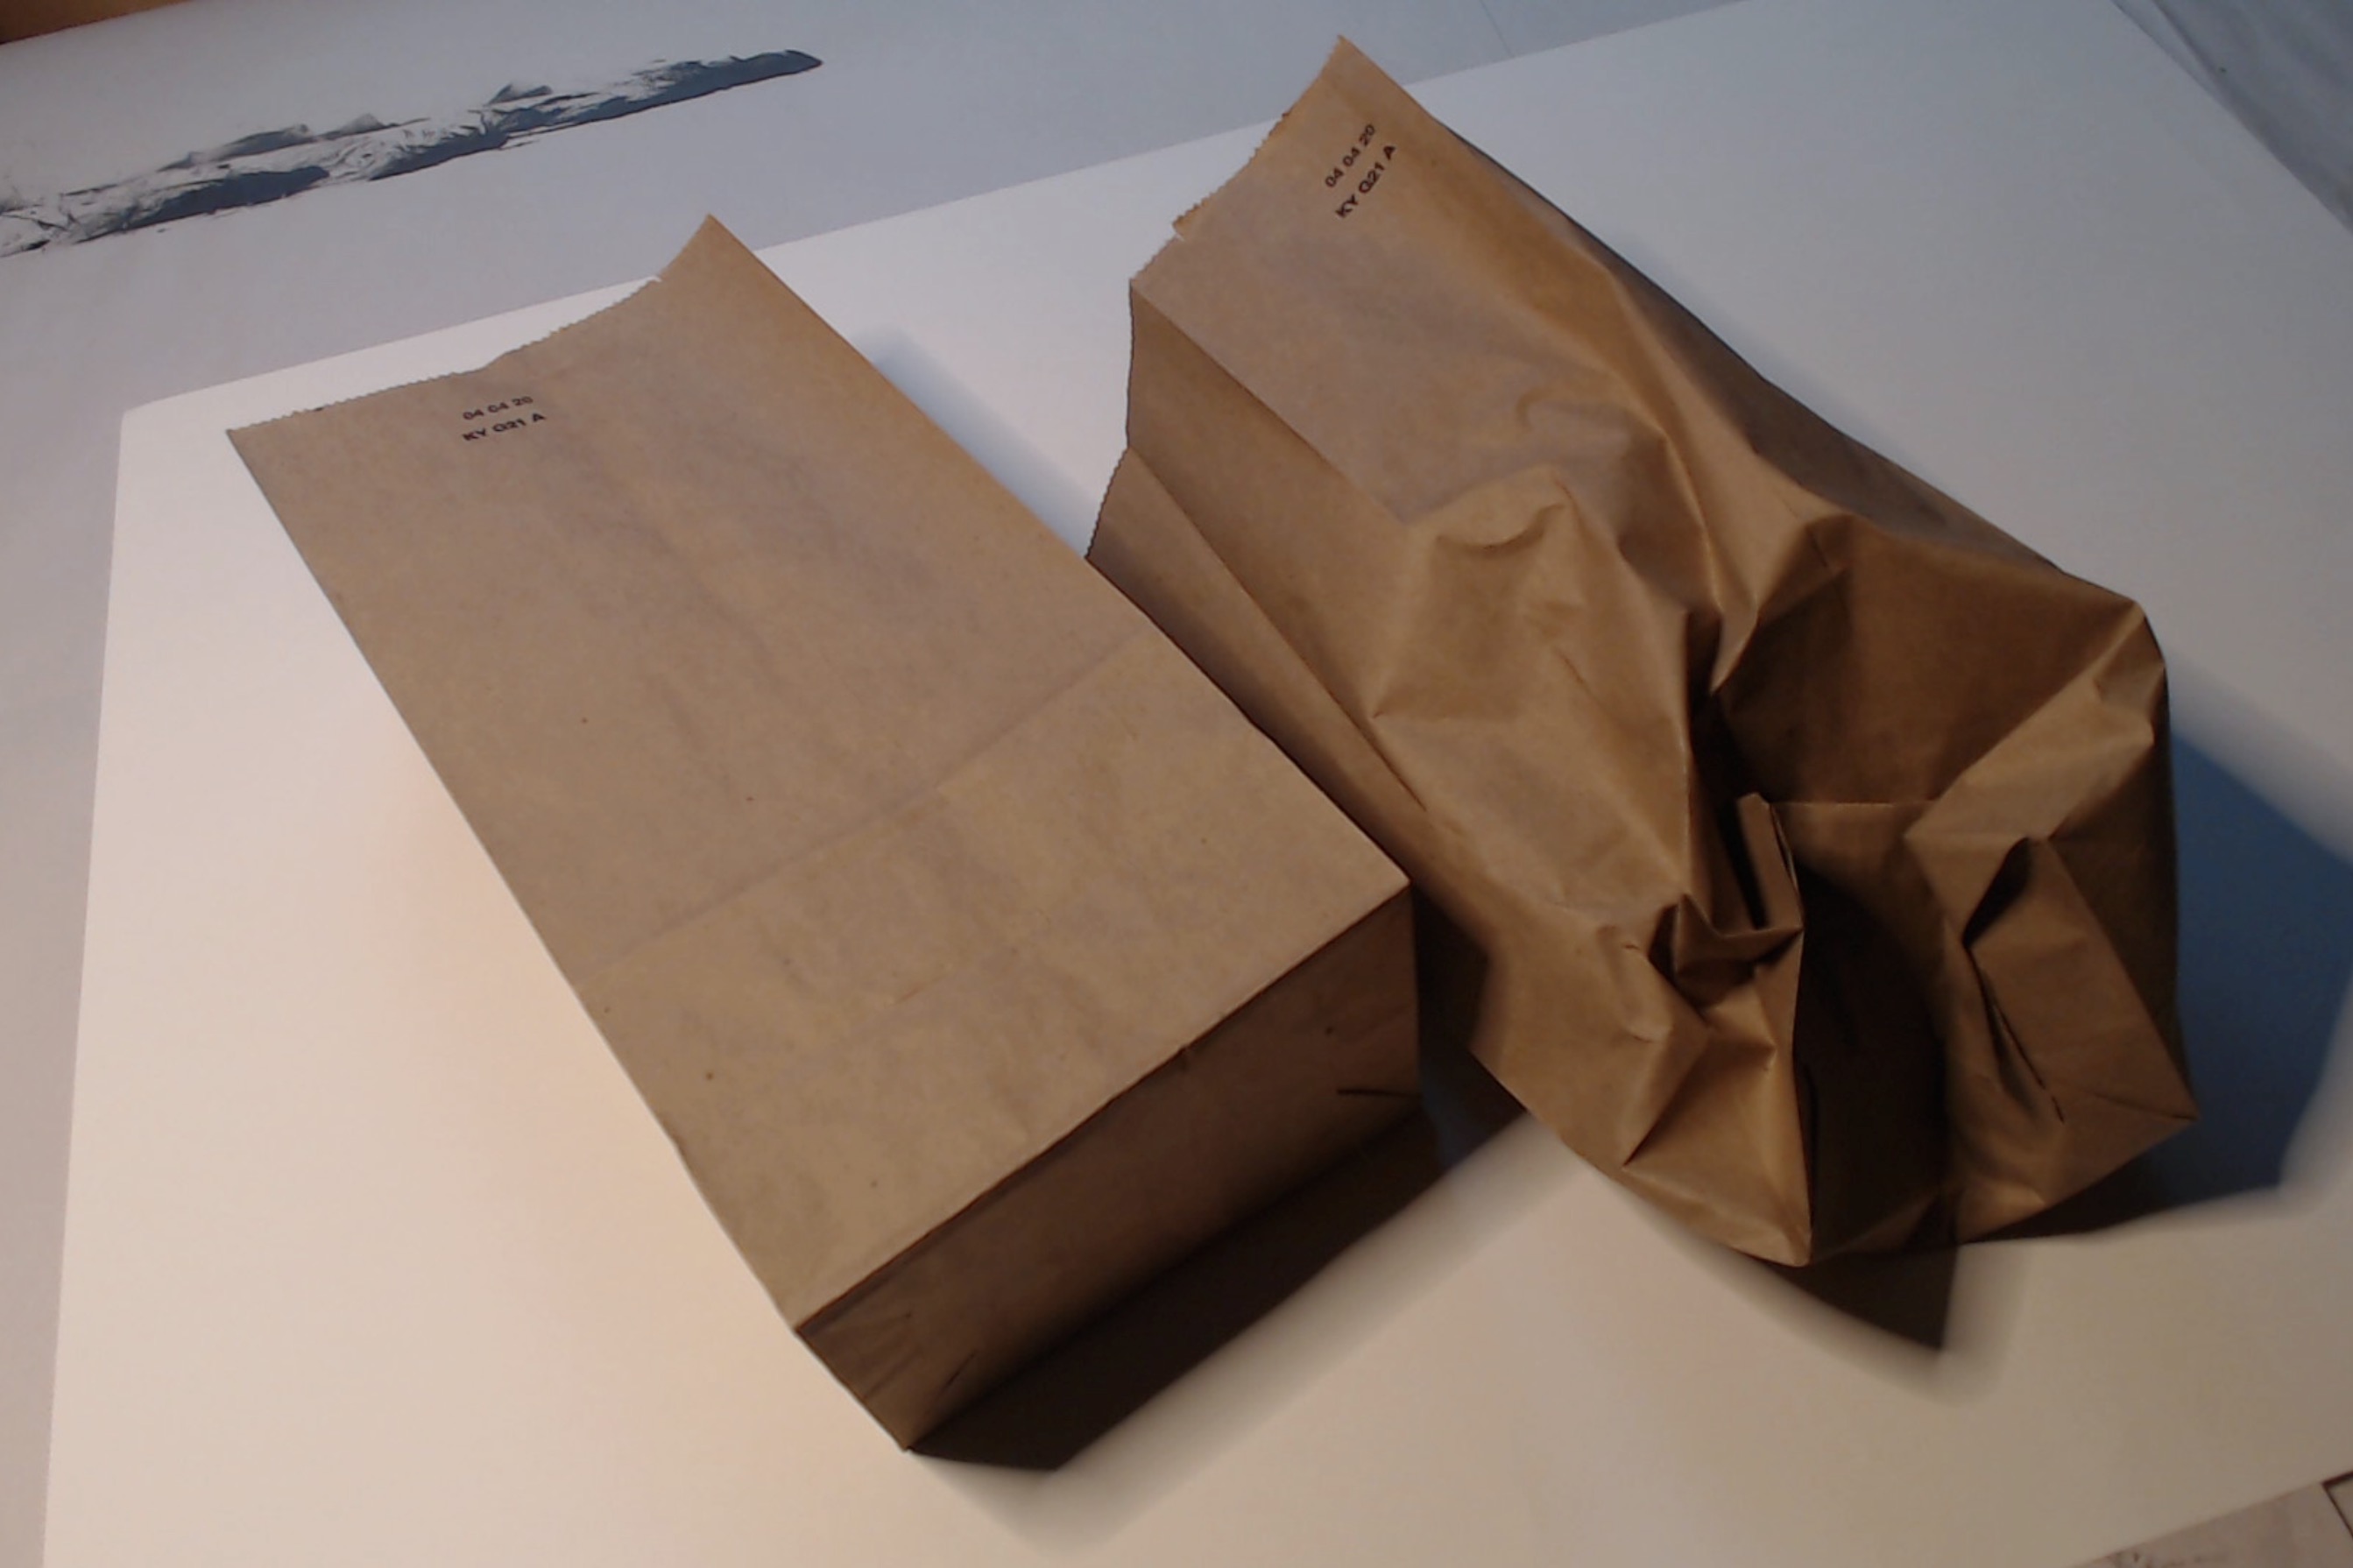


Oct 3 class — fabricate mesh bags. Skin one with plaster bandage.

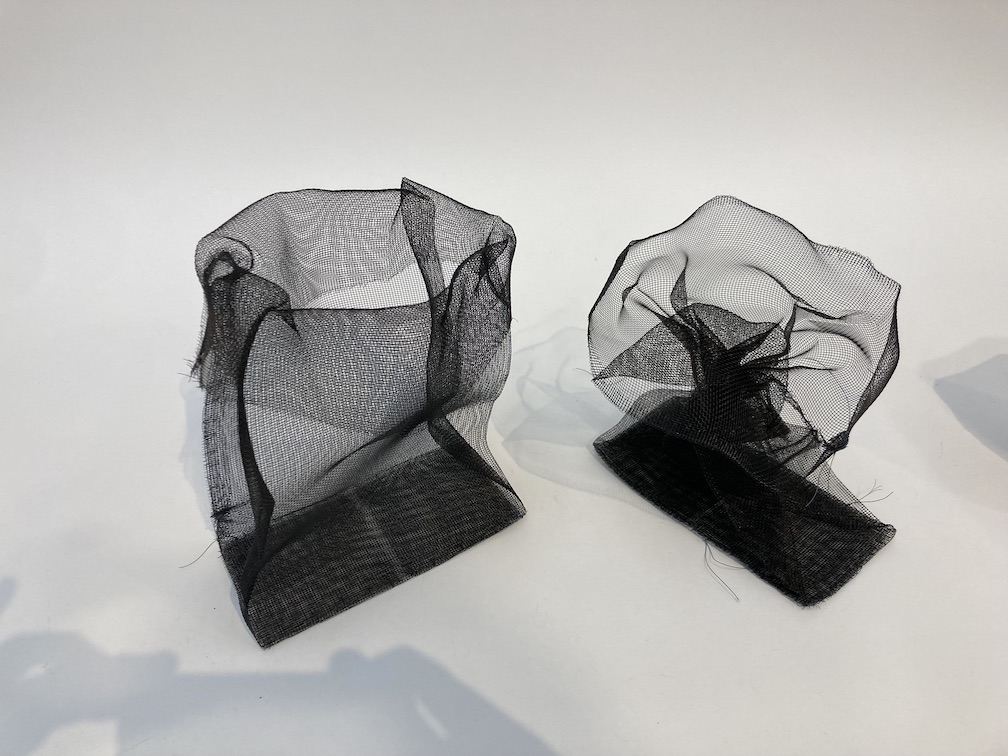
next steps… 1) mesh bag trim loose threads, play more with shape; and 2) plaster over skinned bag — hand shape exterior, try pouring into interior.
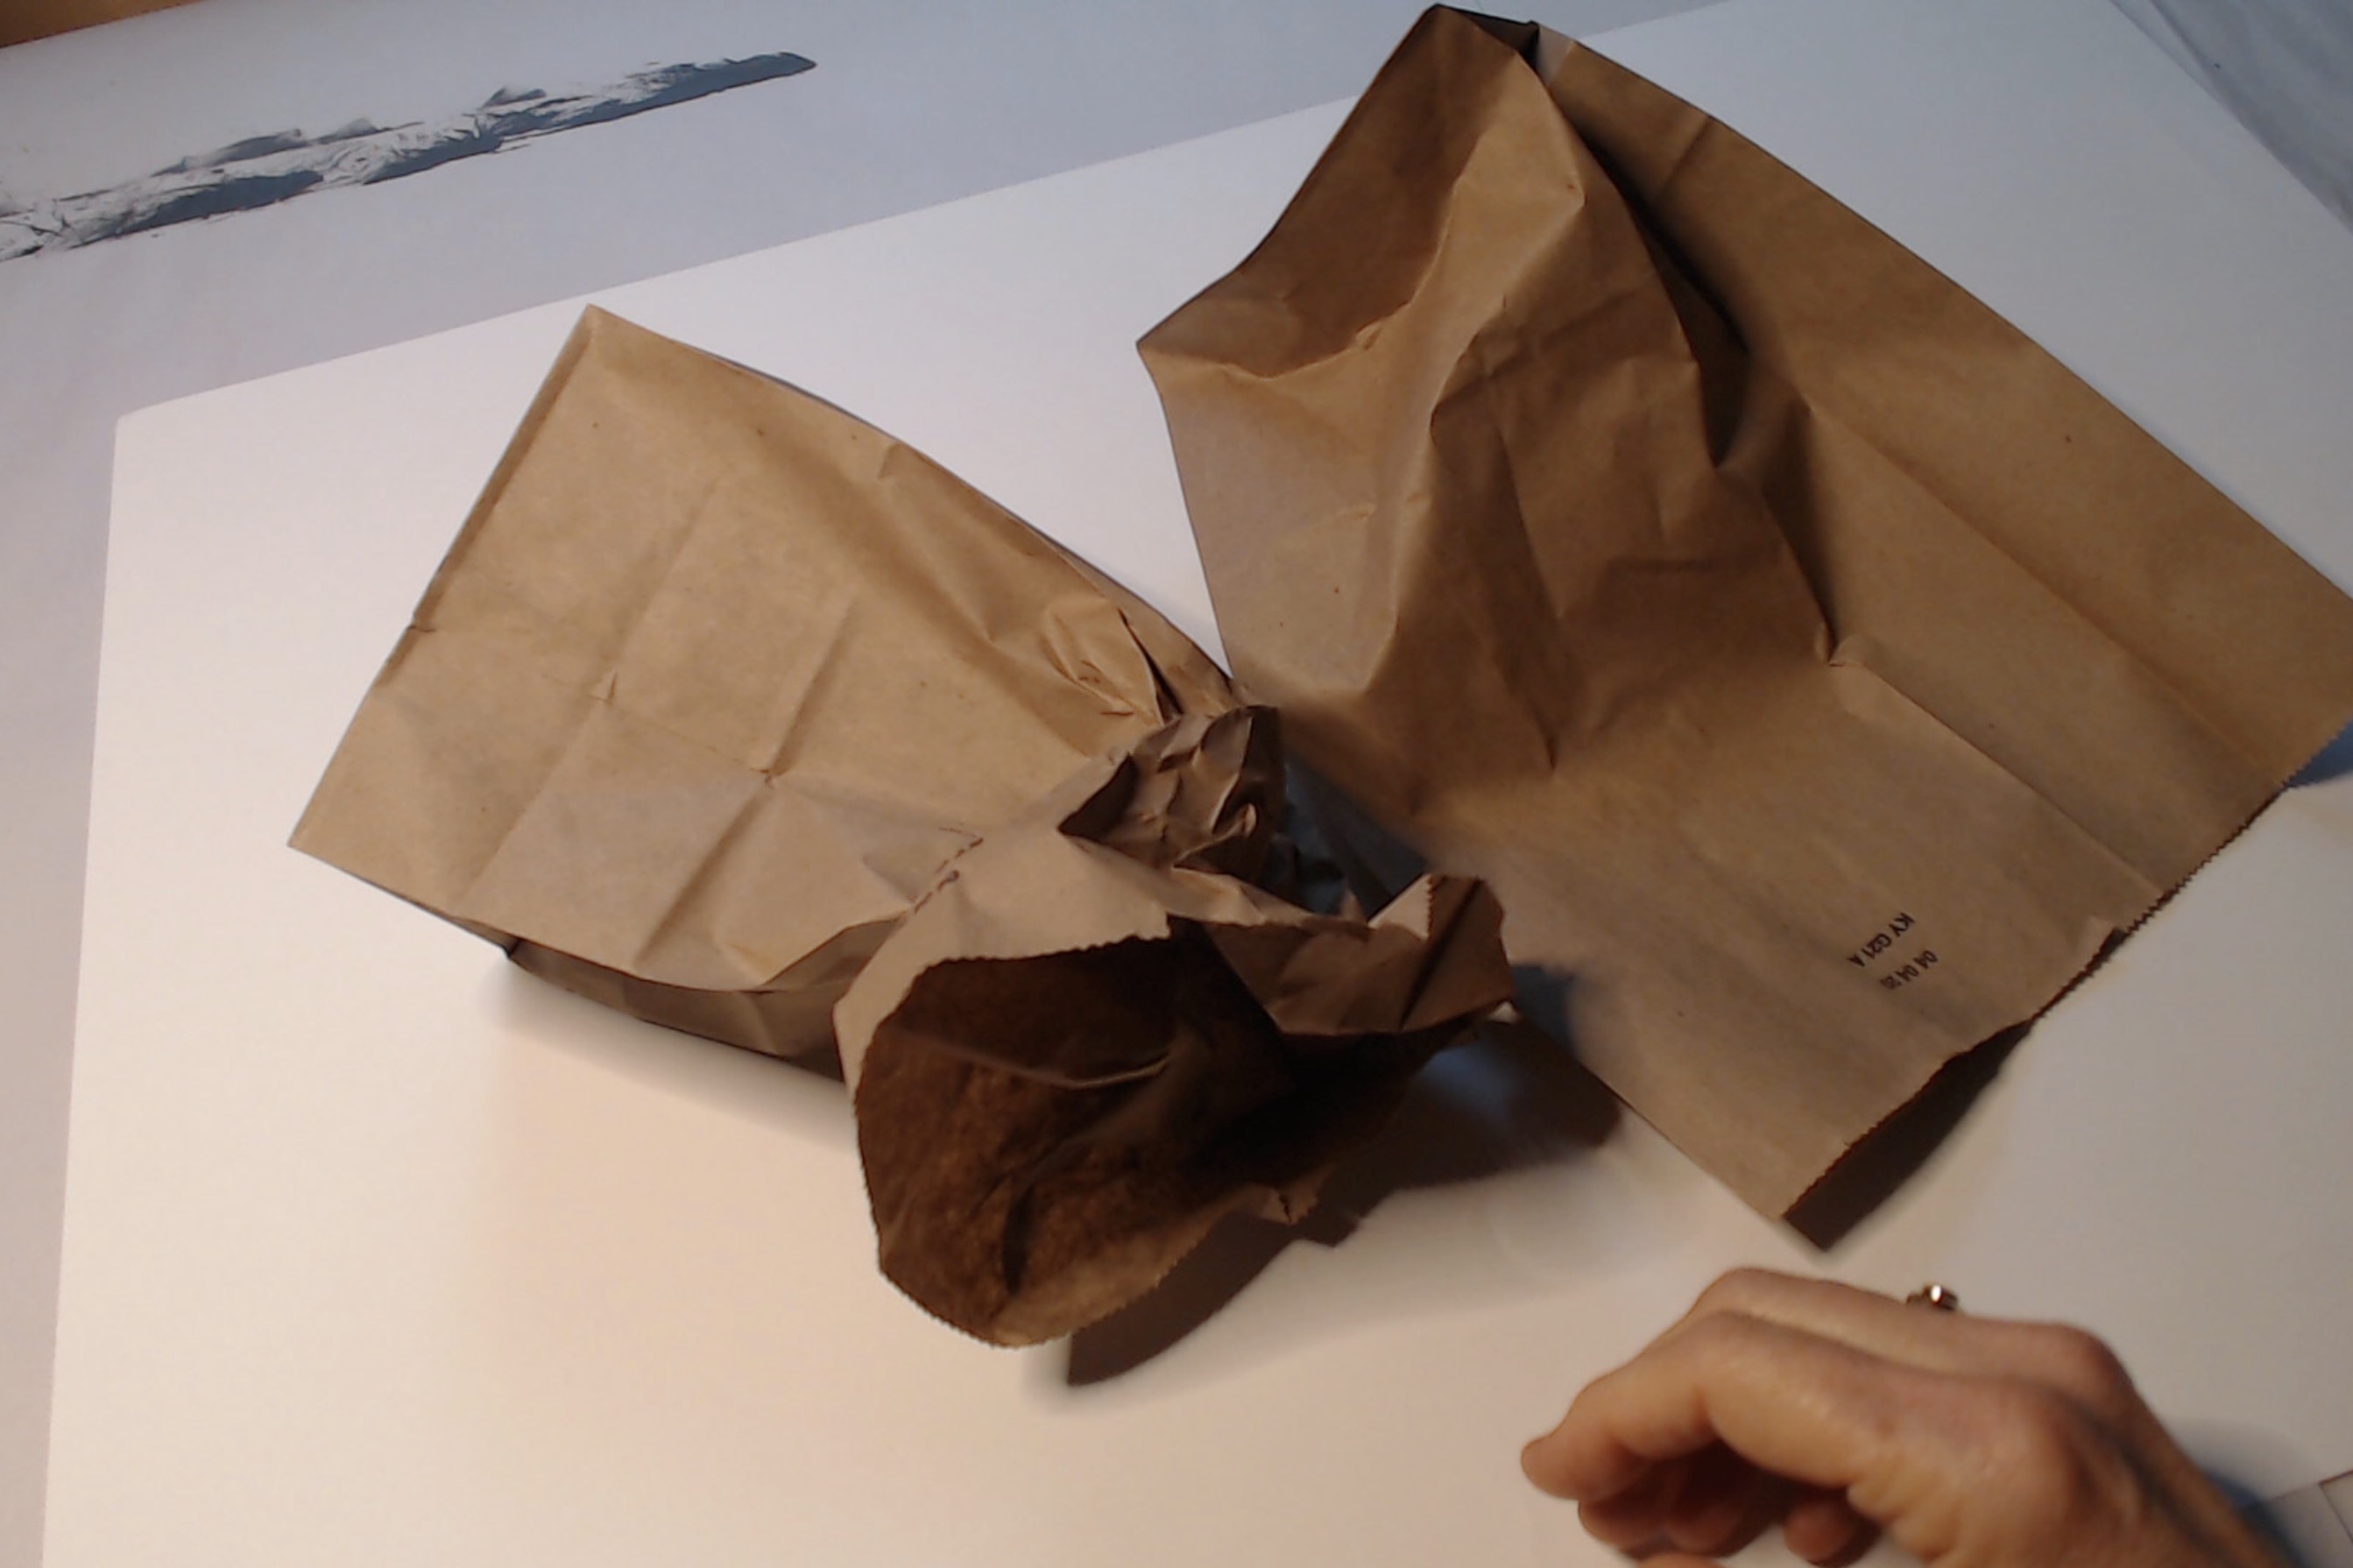
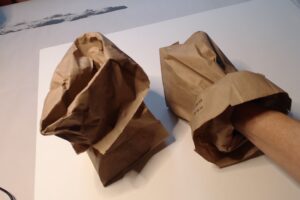
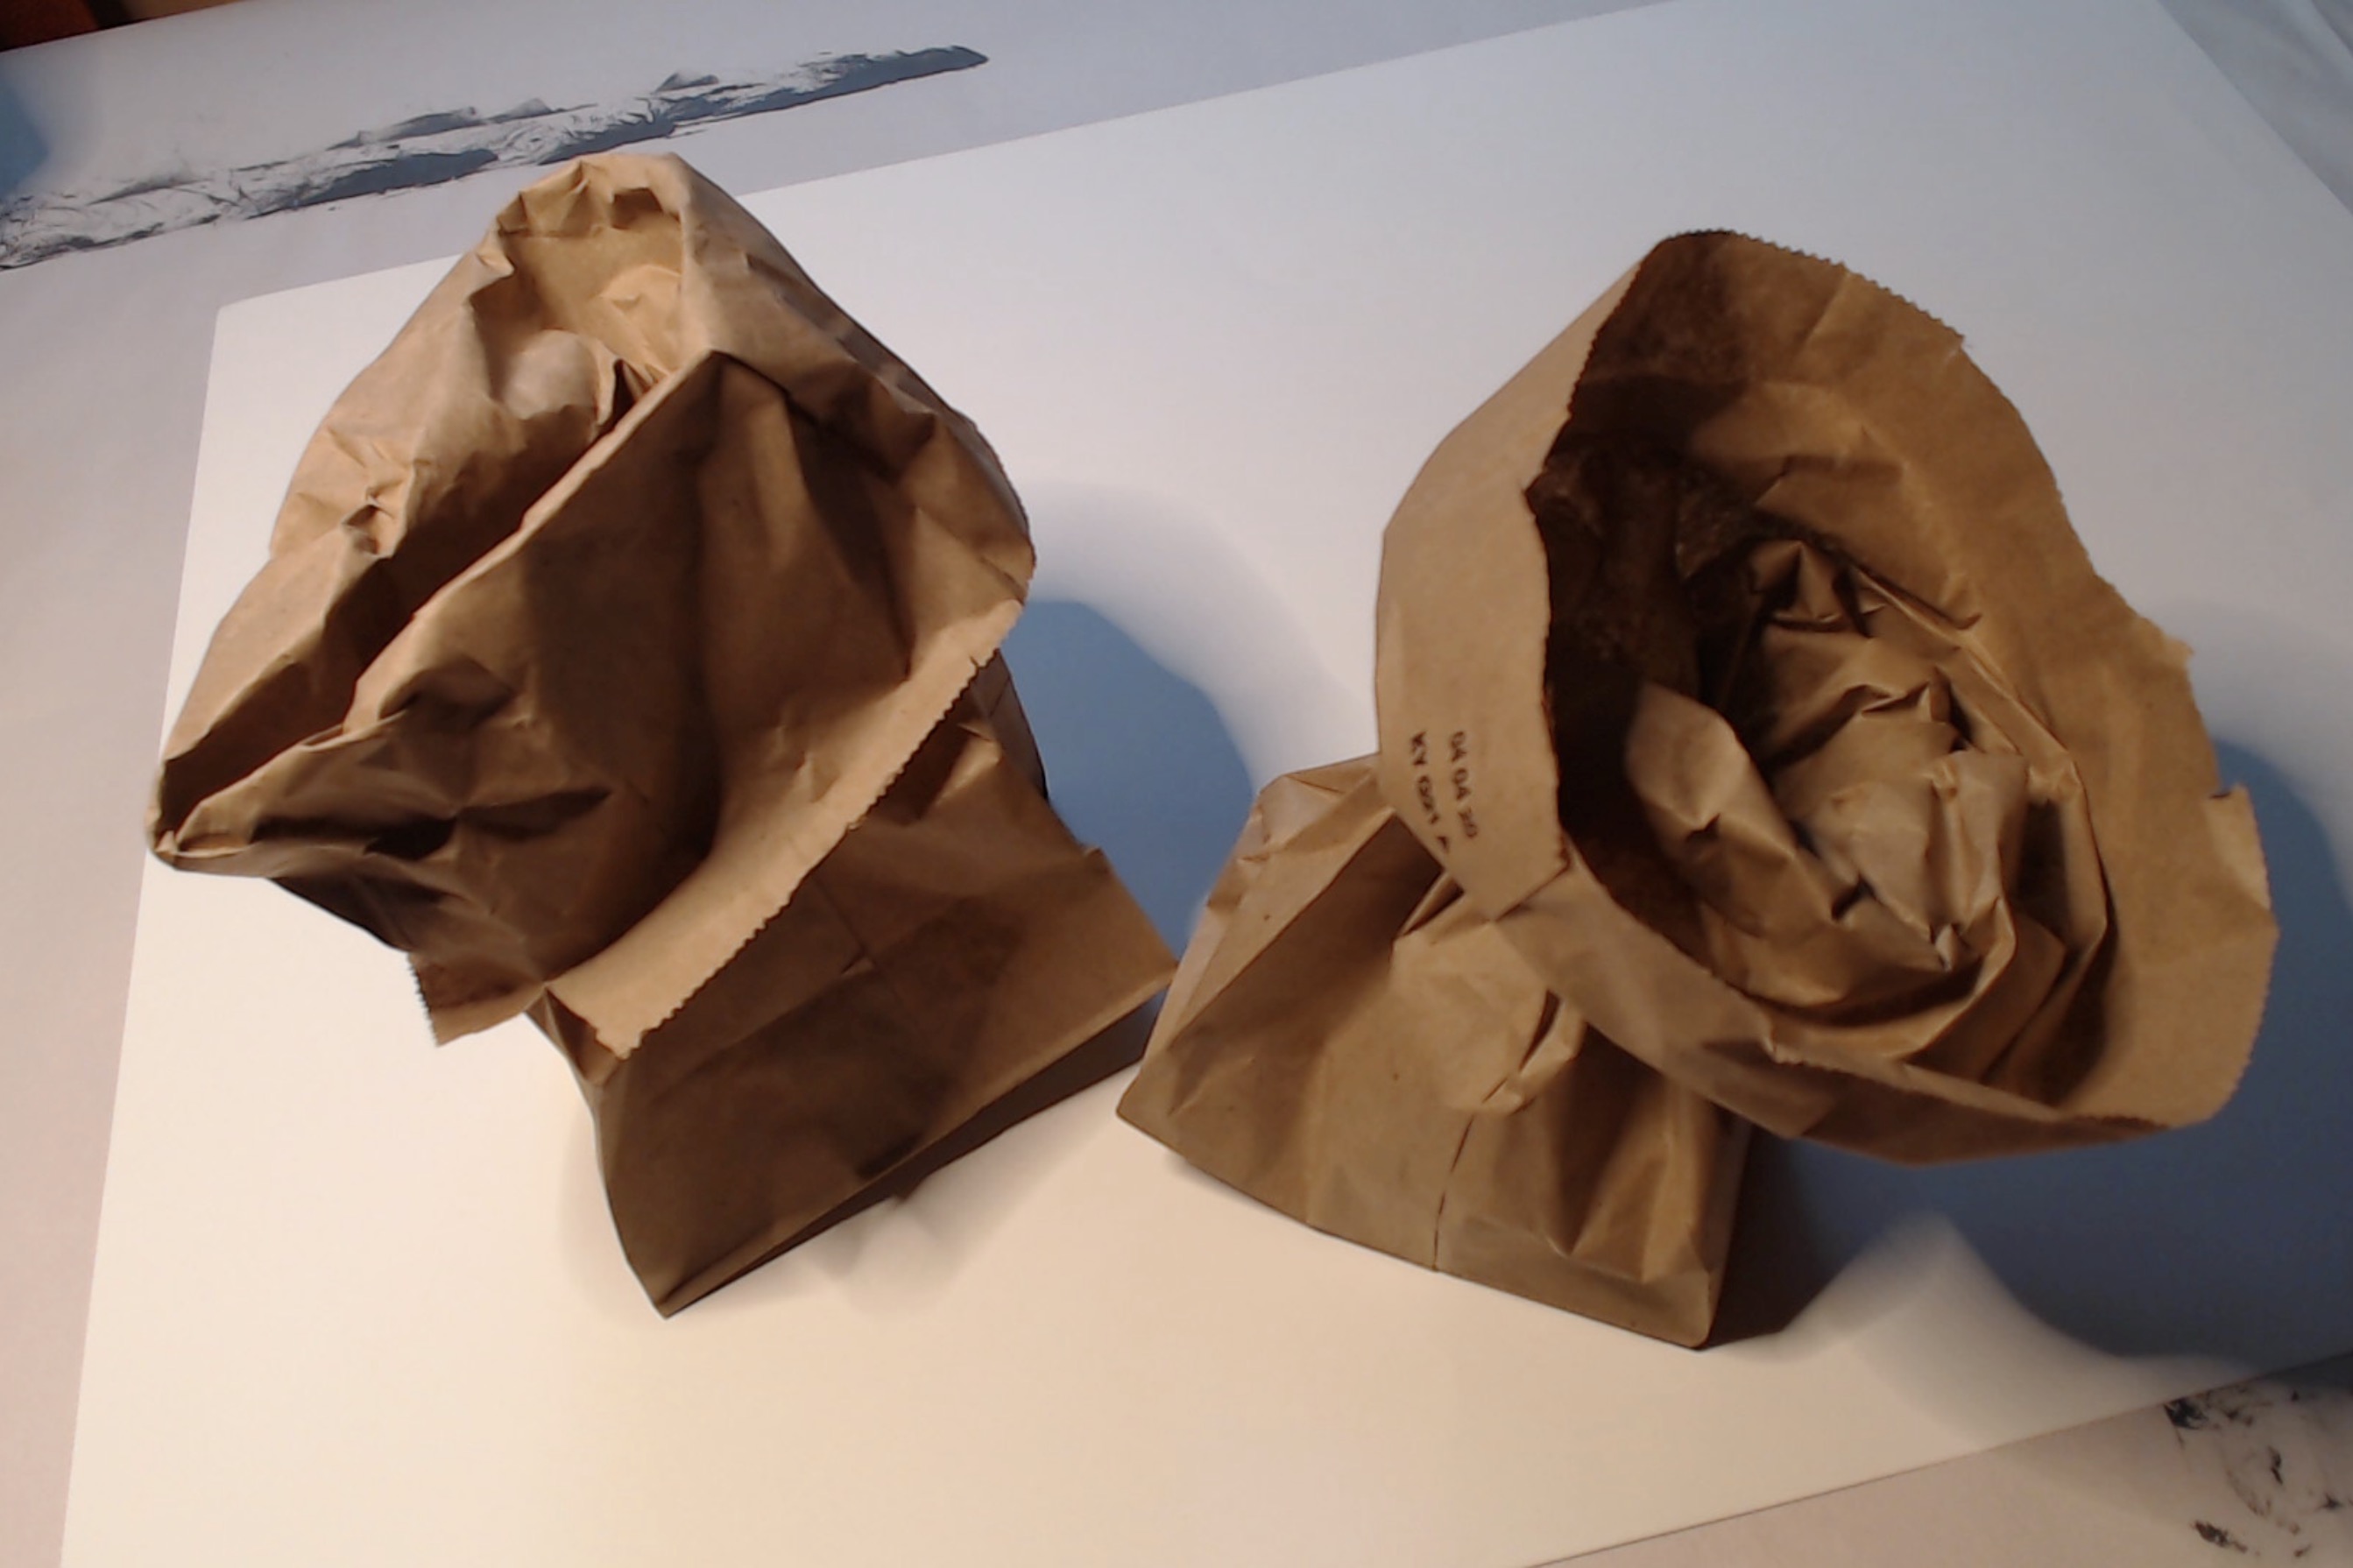
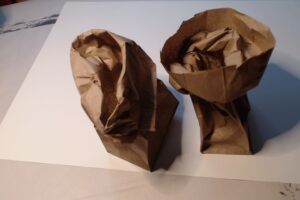
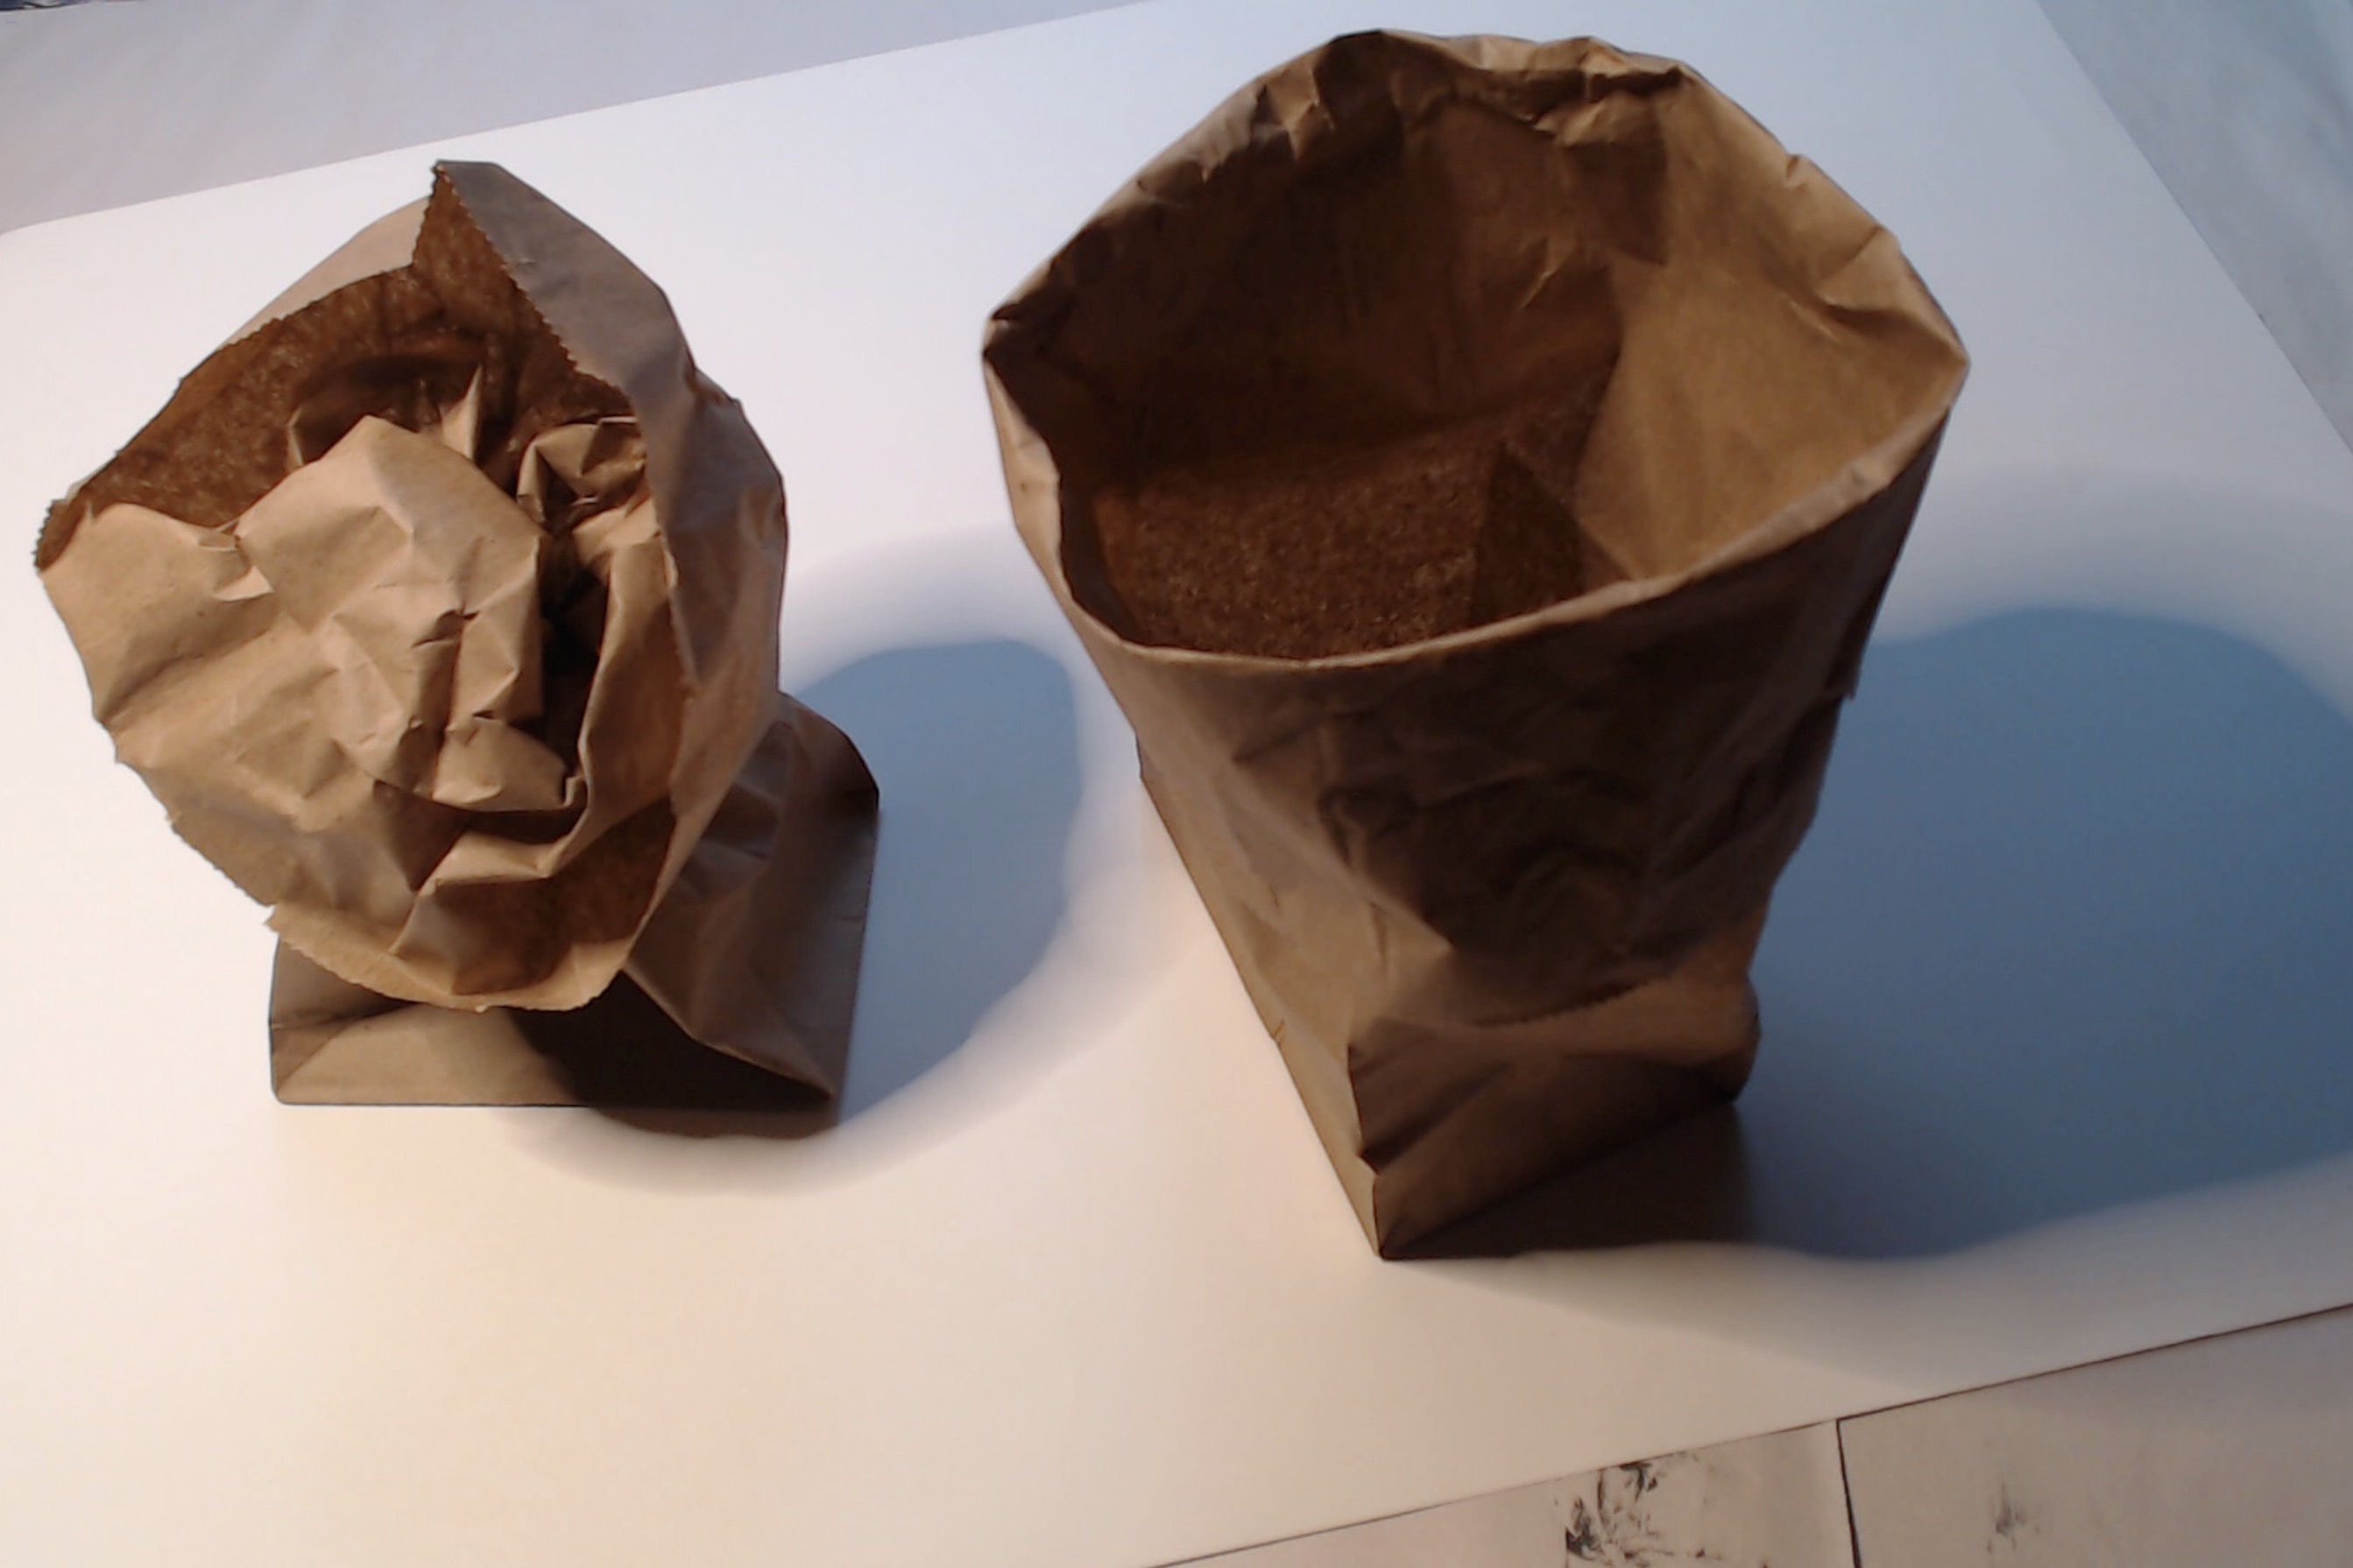
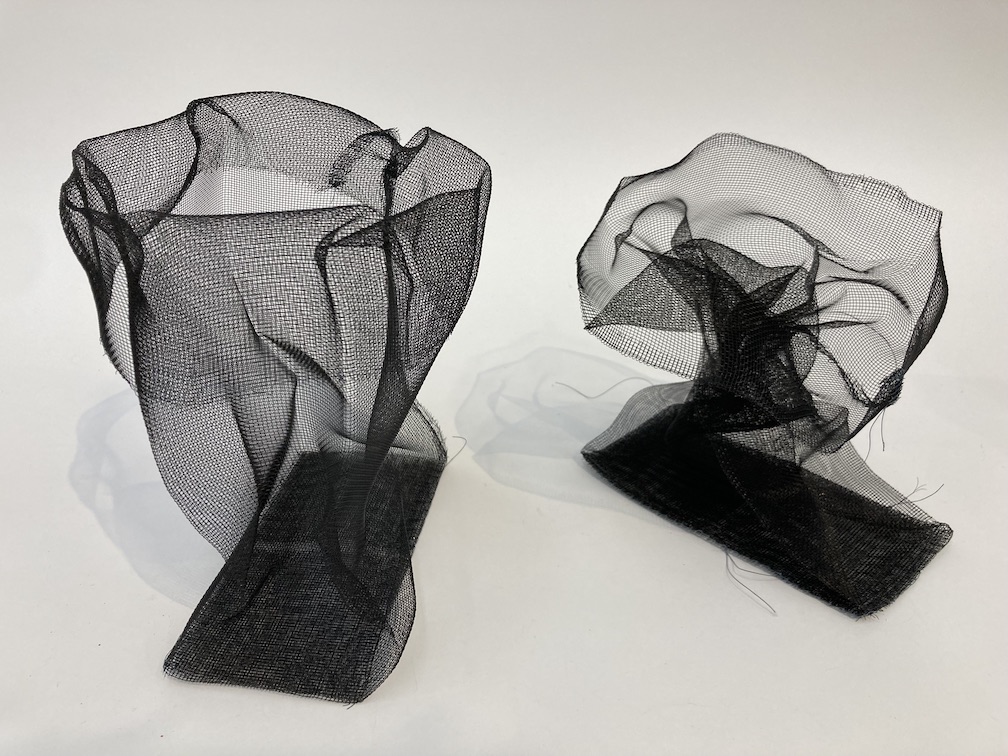
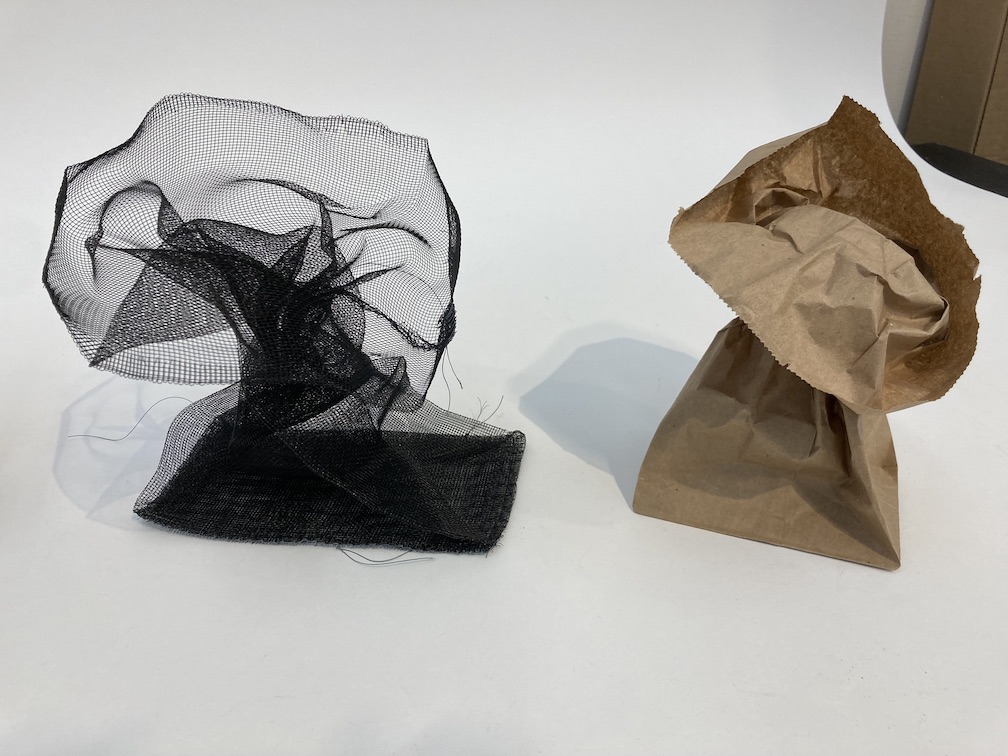
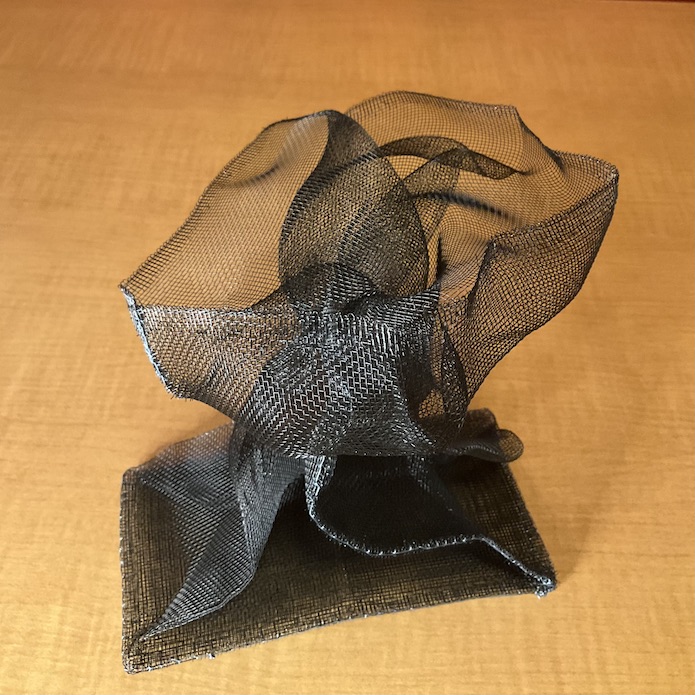
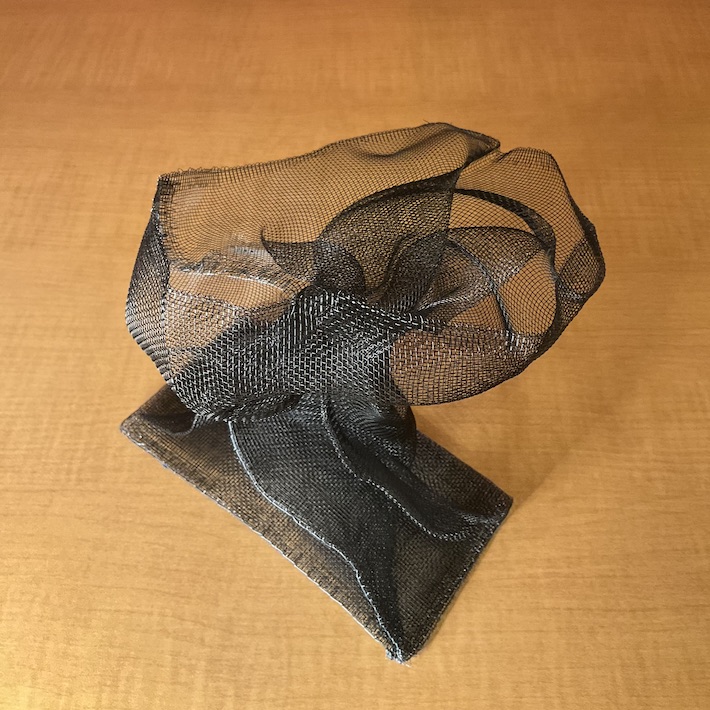
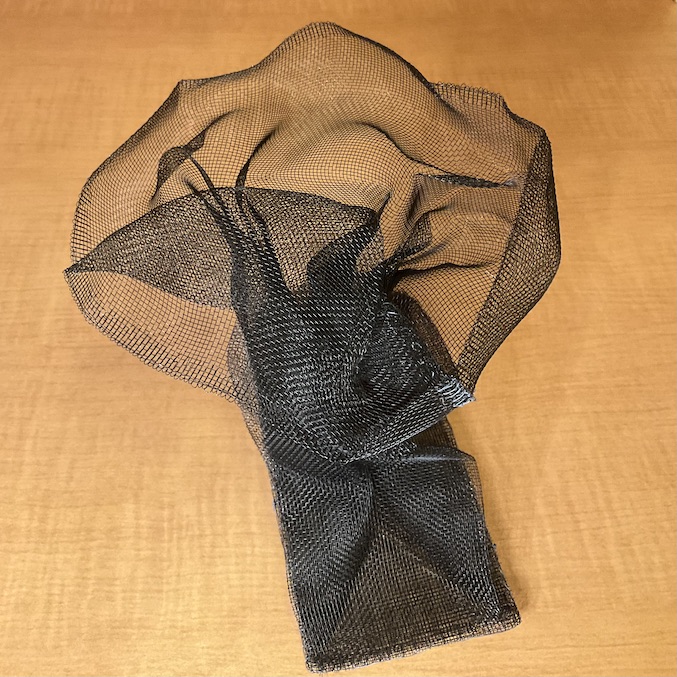
Oct 10 Mesh bag in process: threads trimmed, shape opened a bit wider:

Oct 10th: Start plastering. Made two small batches in succession – poured inside of bag while still liquid, applied manually to outside. Not adept at making it smooth — more like swirls of frosting on a cake… will see how to work with that once dry and I start sanding…
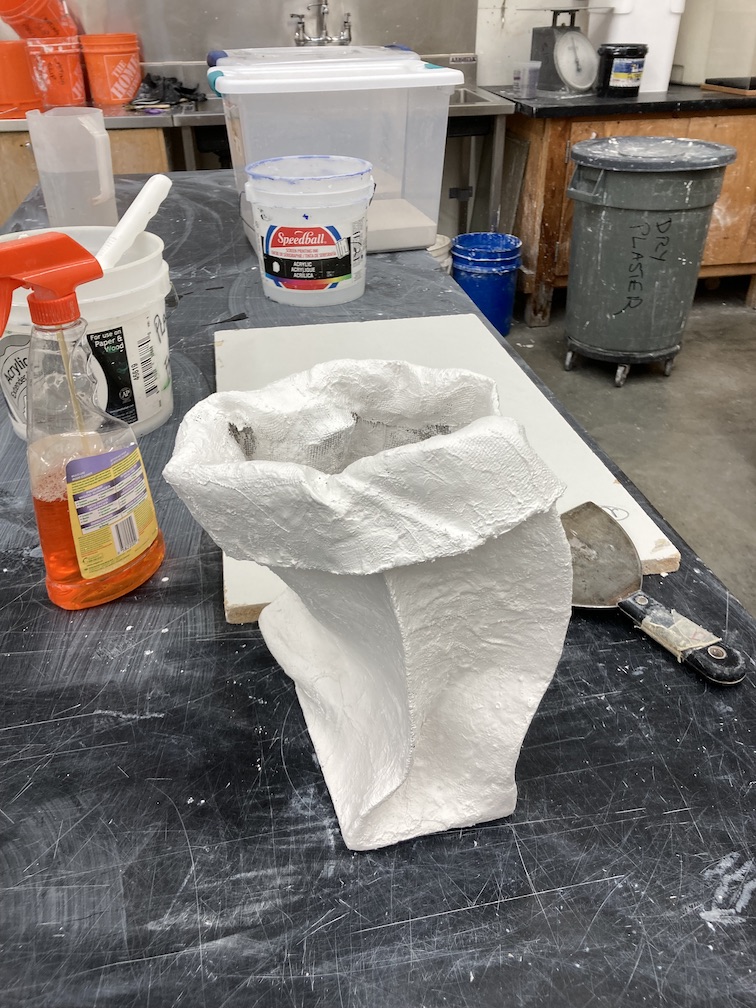
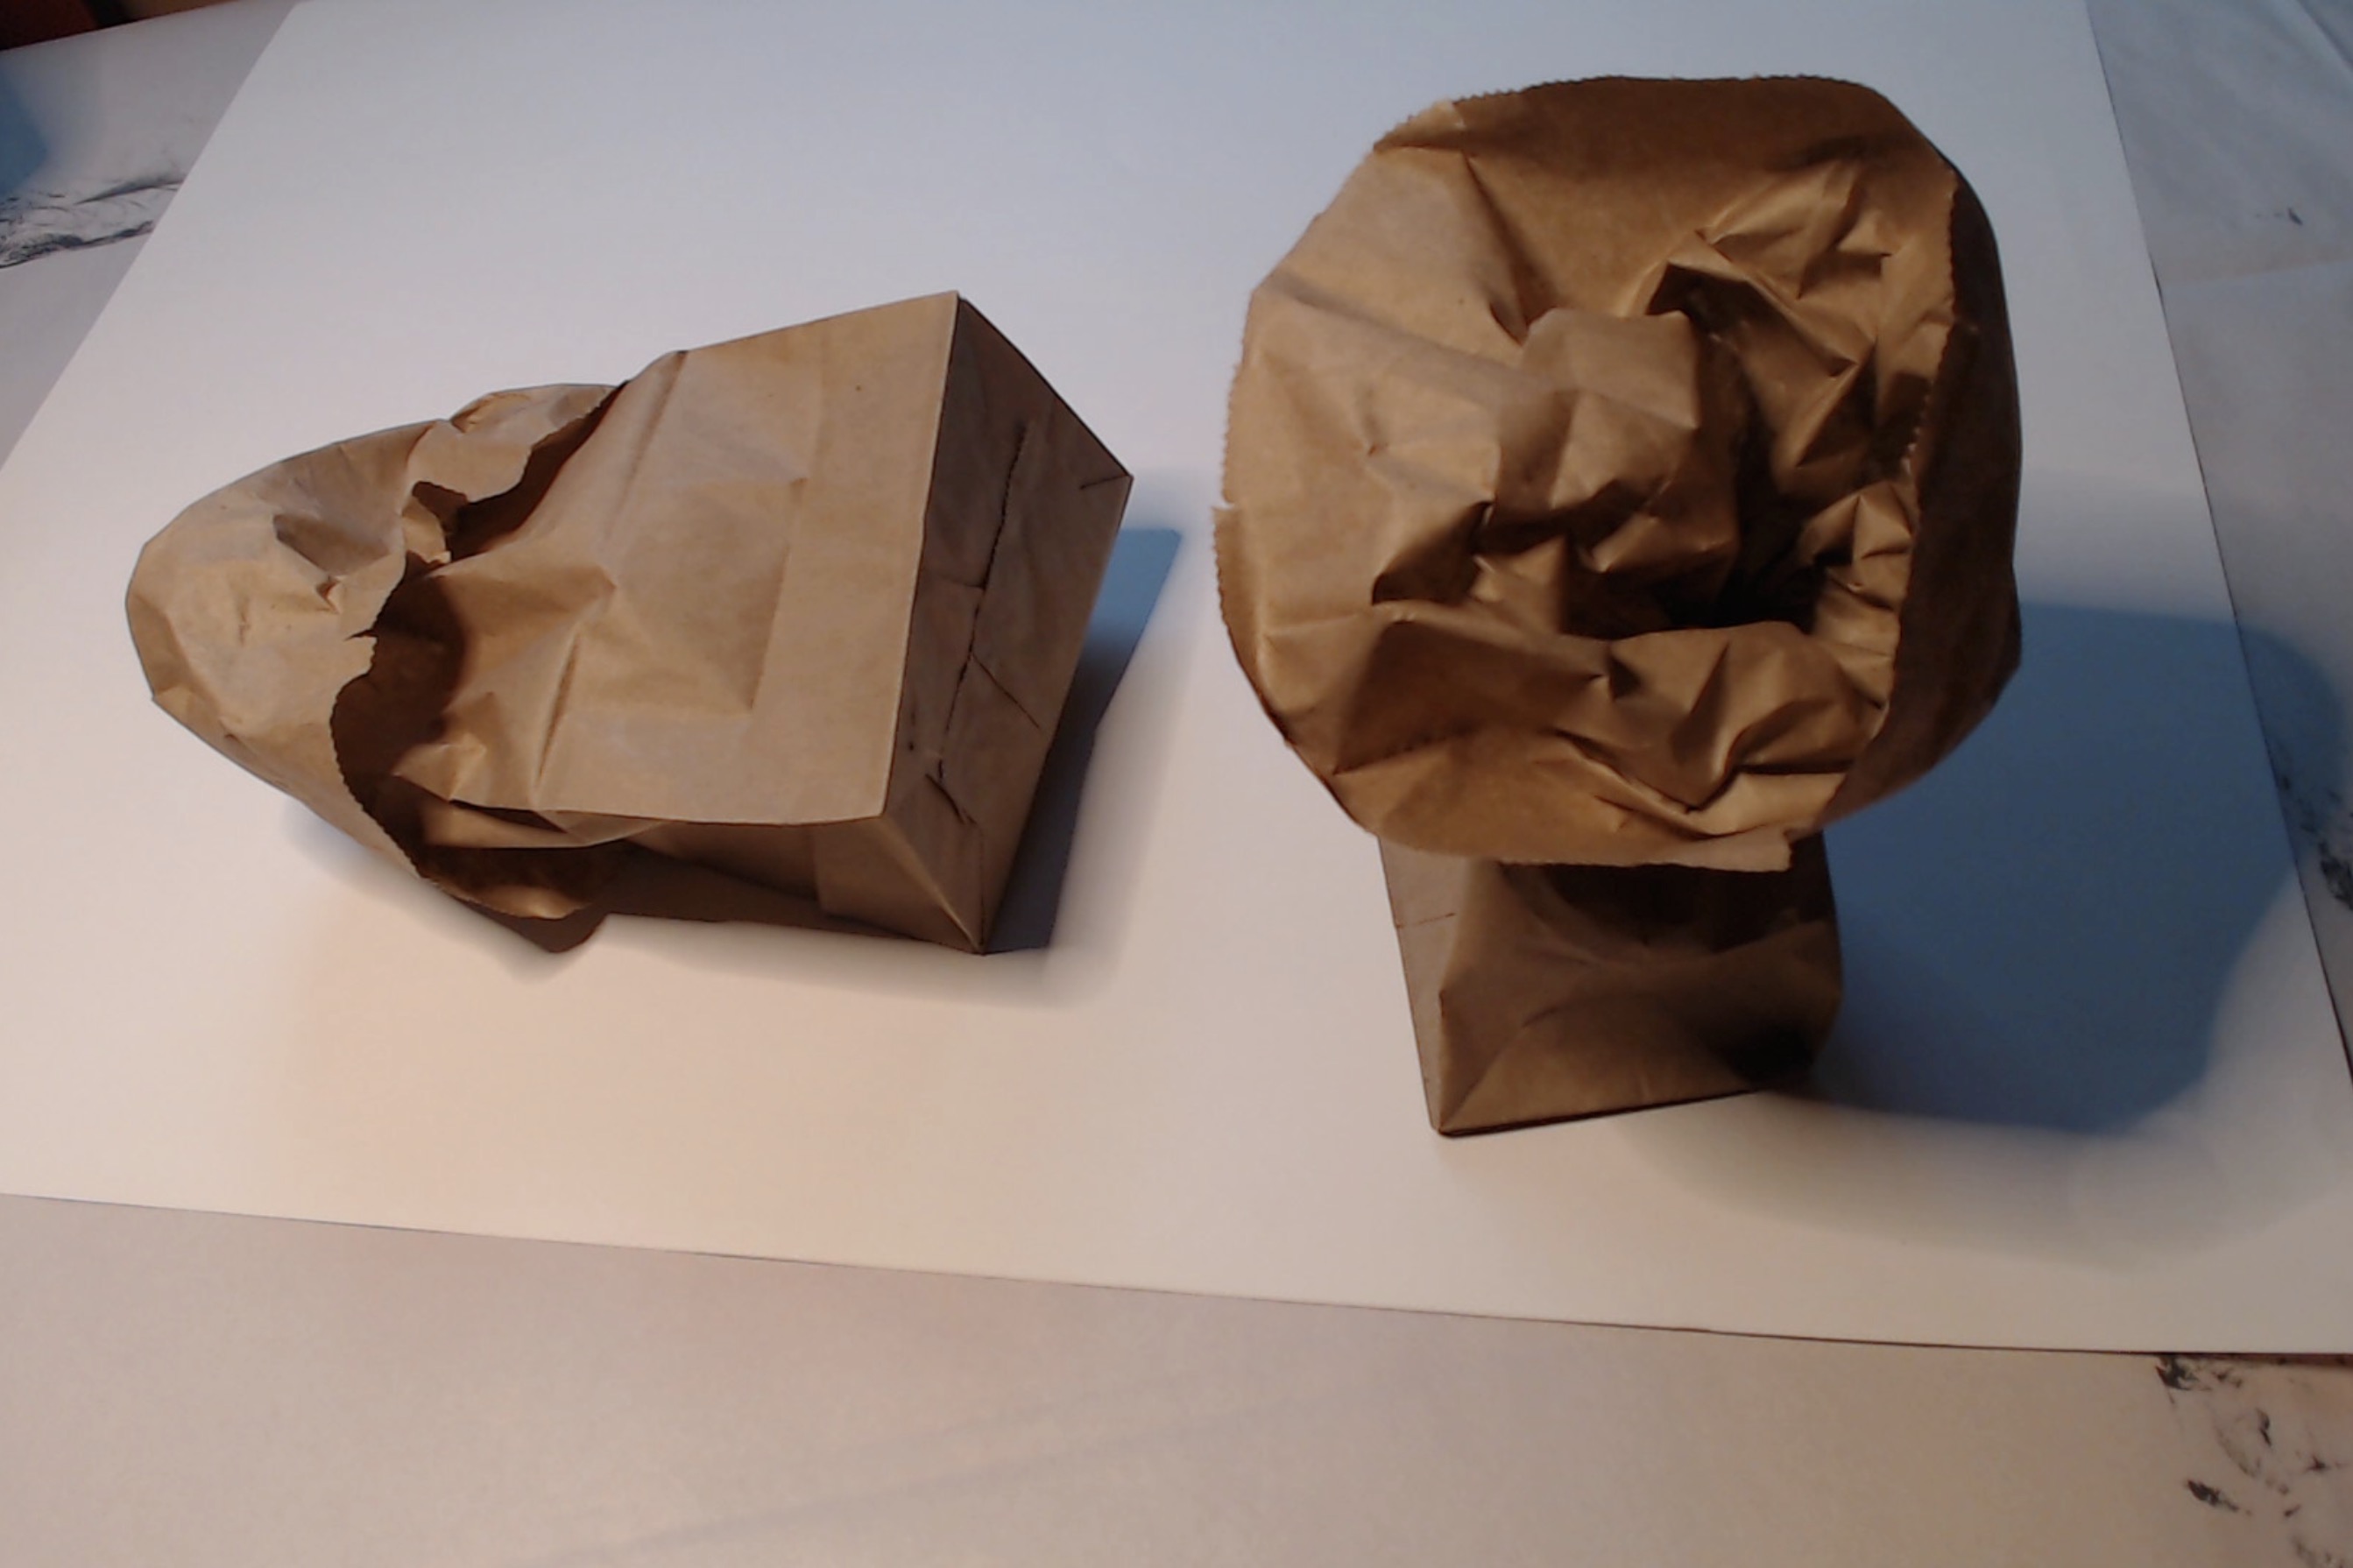
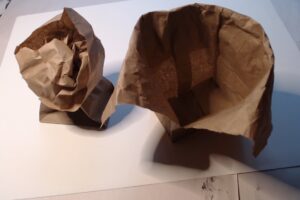
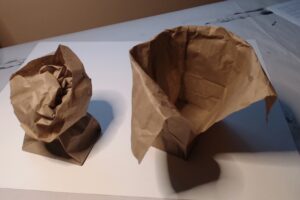
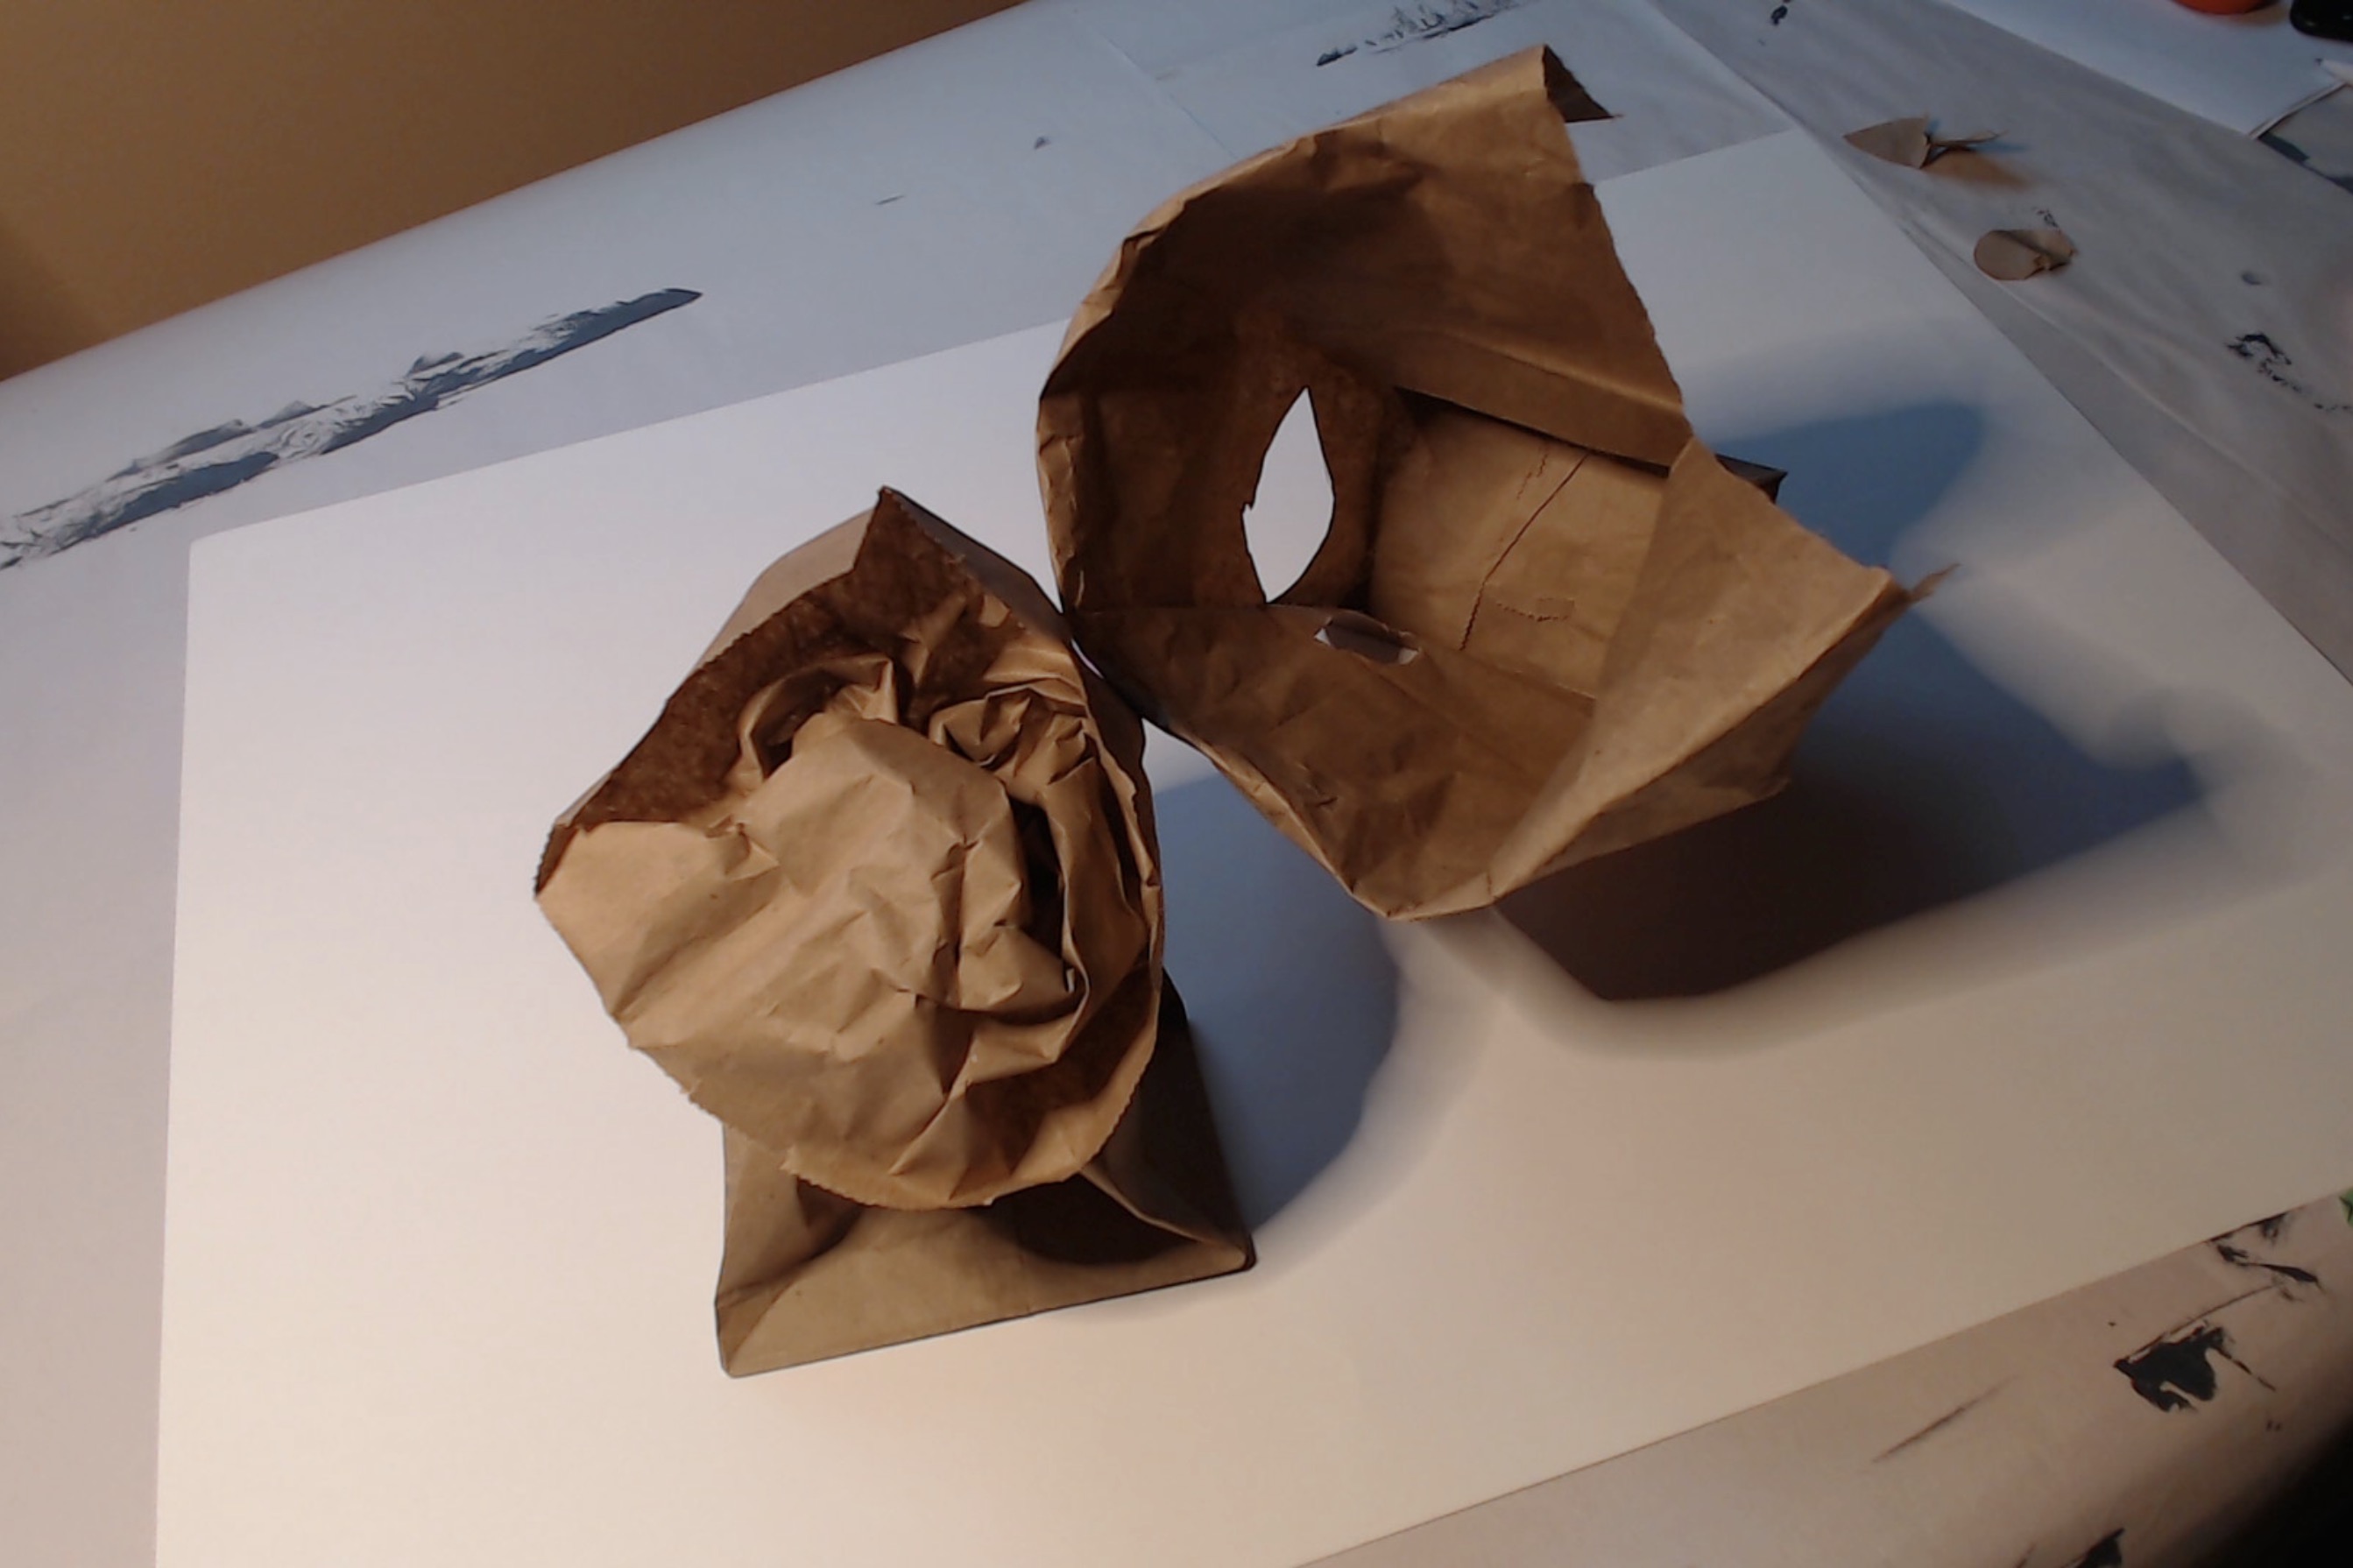
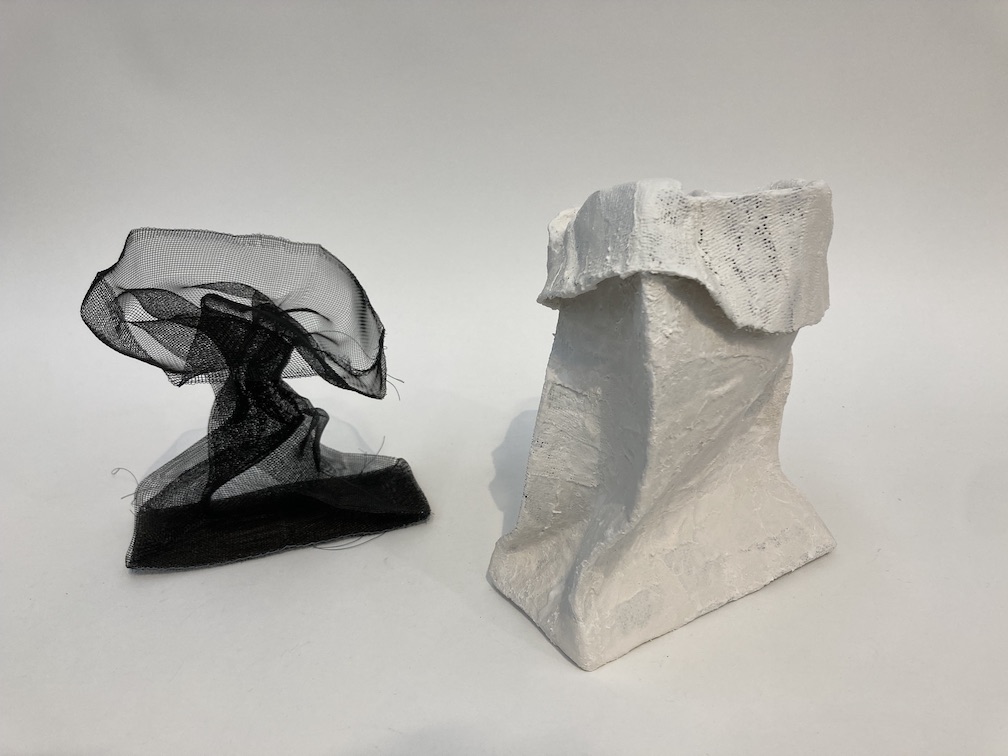
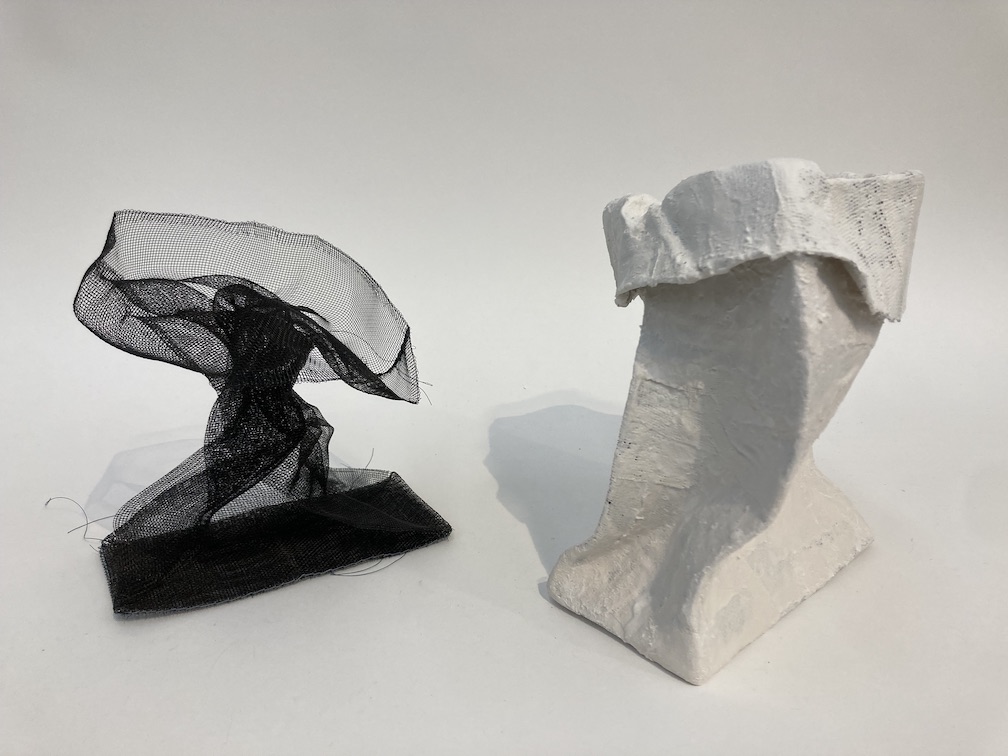
October 17th in studio: Dry sanding to start – some areas look like worn rock (Angela’s description) and others still like peaks of frosting. Also, one area on the rim was cracked during my wet-sand last week. One more plaster pour today would allow repair of the broken rim, fill some hollows and holes, and make more depth of plaster to allow further sanding for a smoother finish. See below — photos of the plaster patch, the (still damp) plastered shape positioned with the mesh bag to play with negative space… However, will still do one more sanding before I call it done…


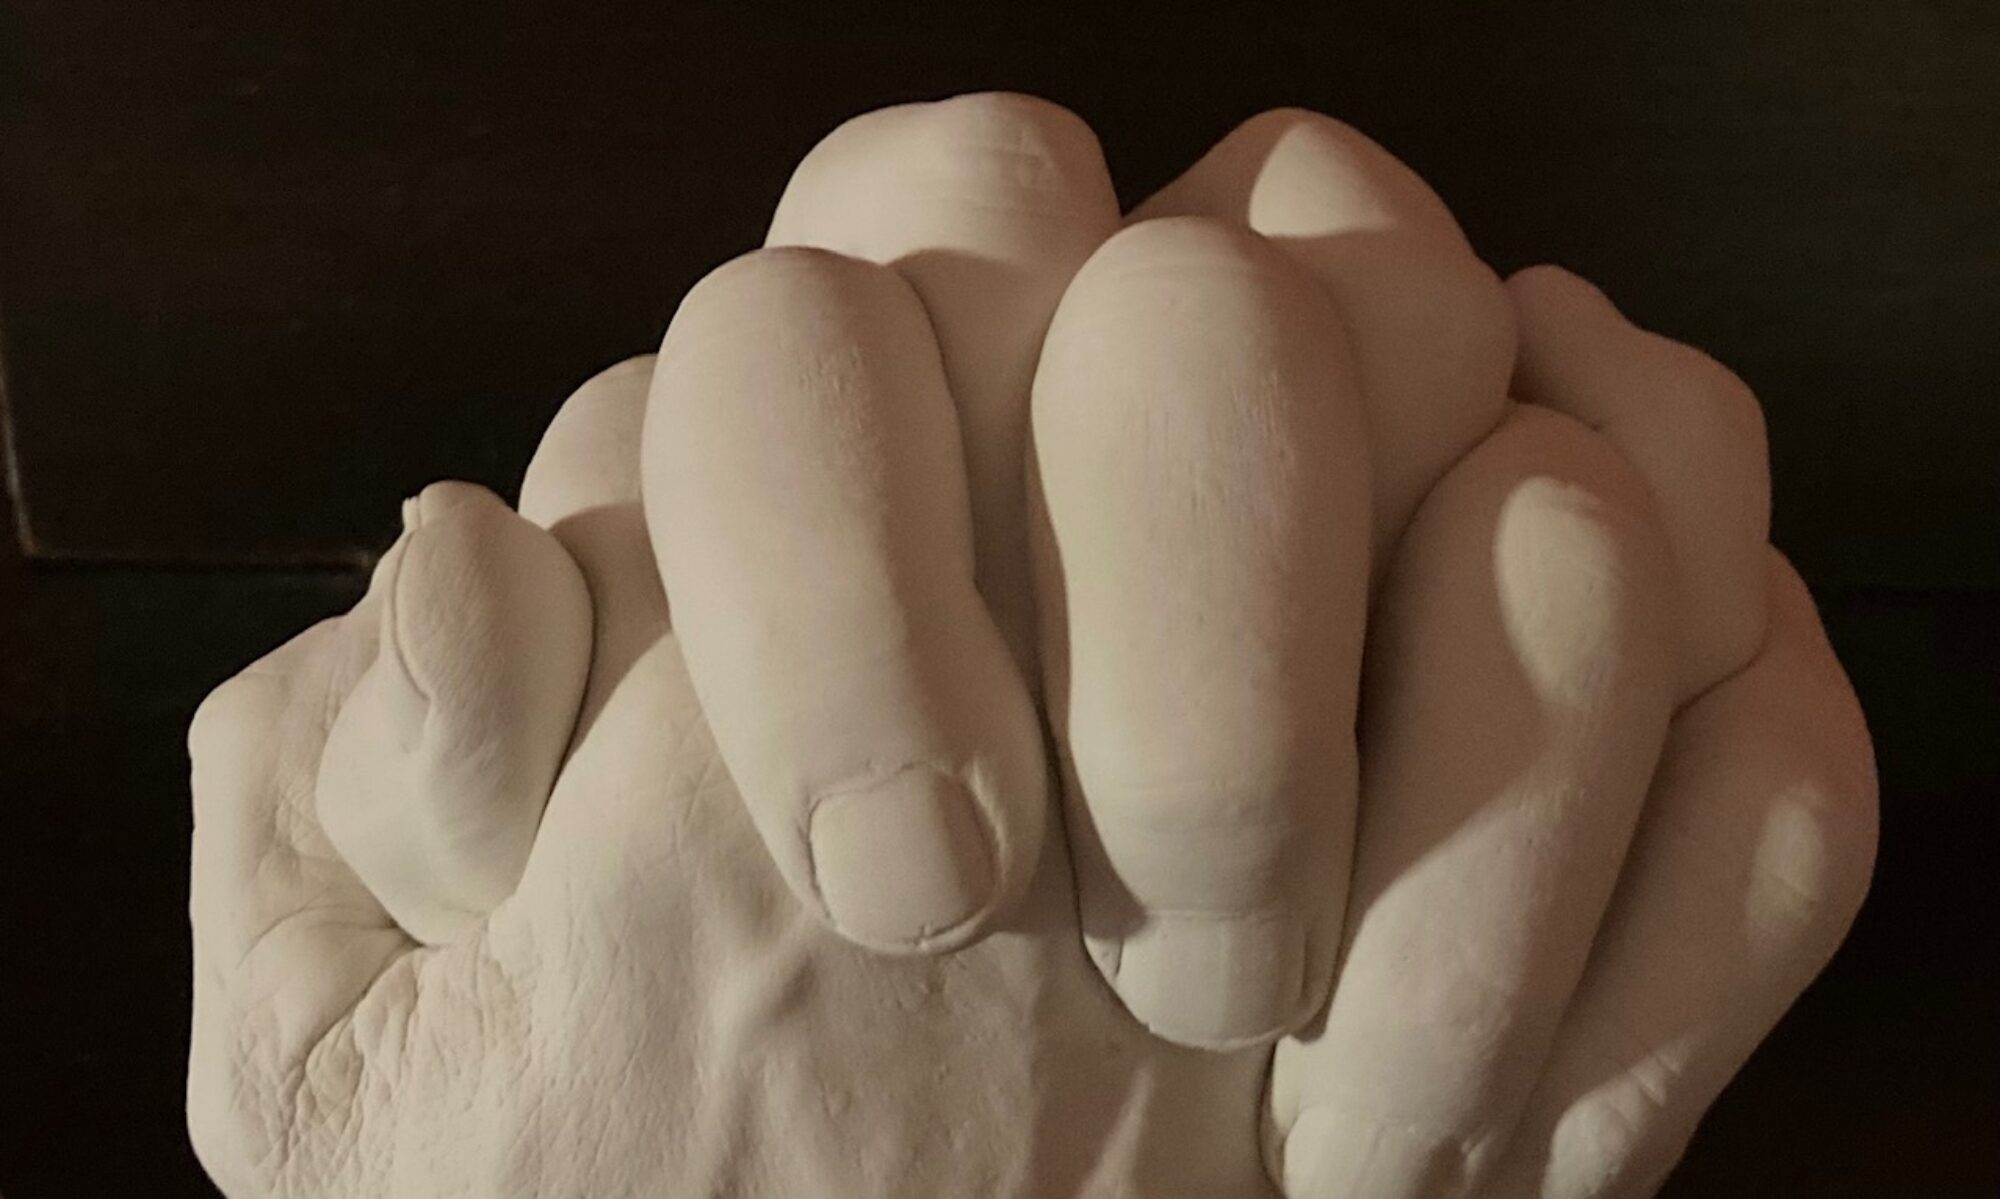
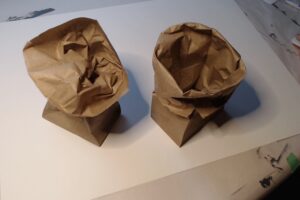
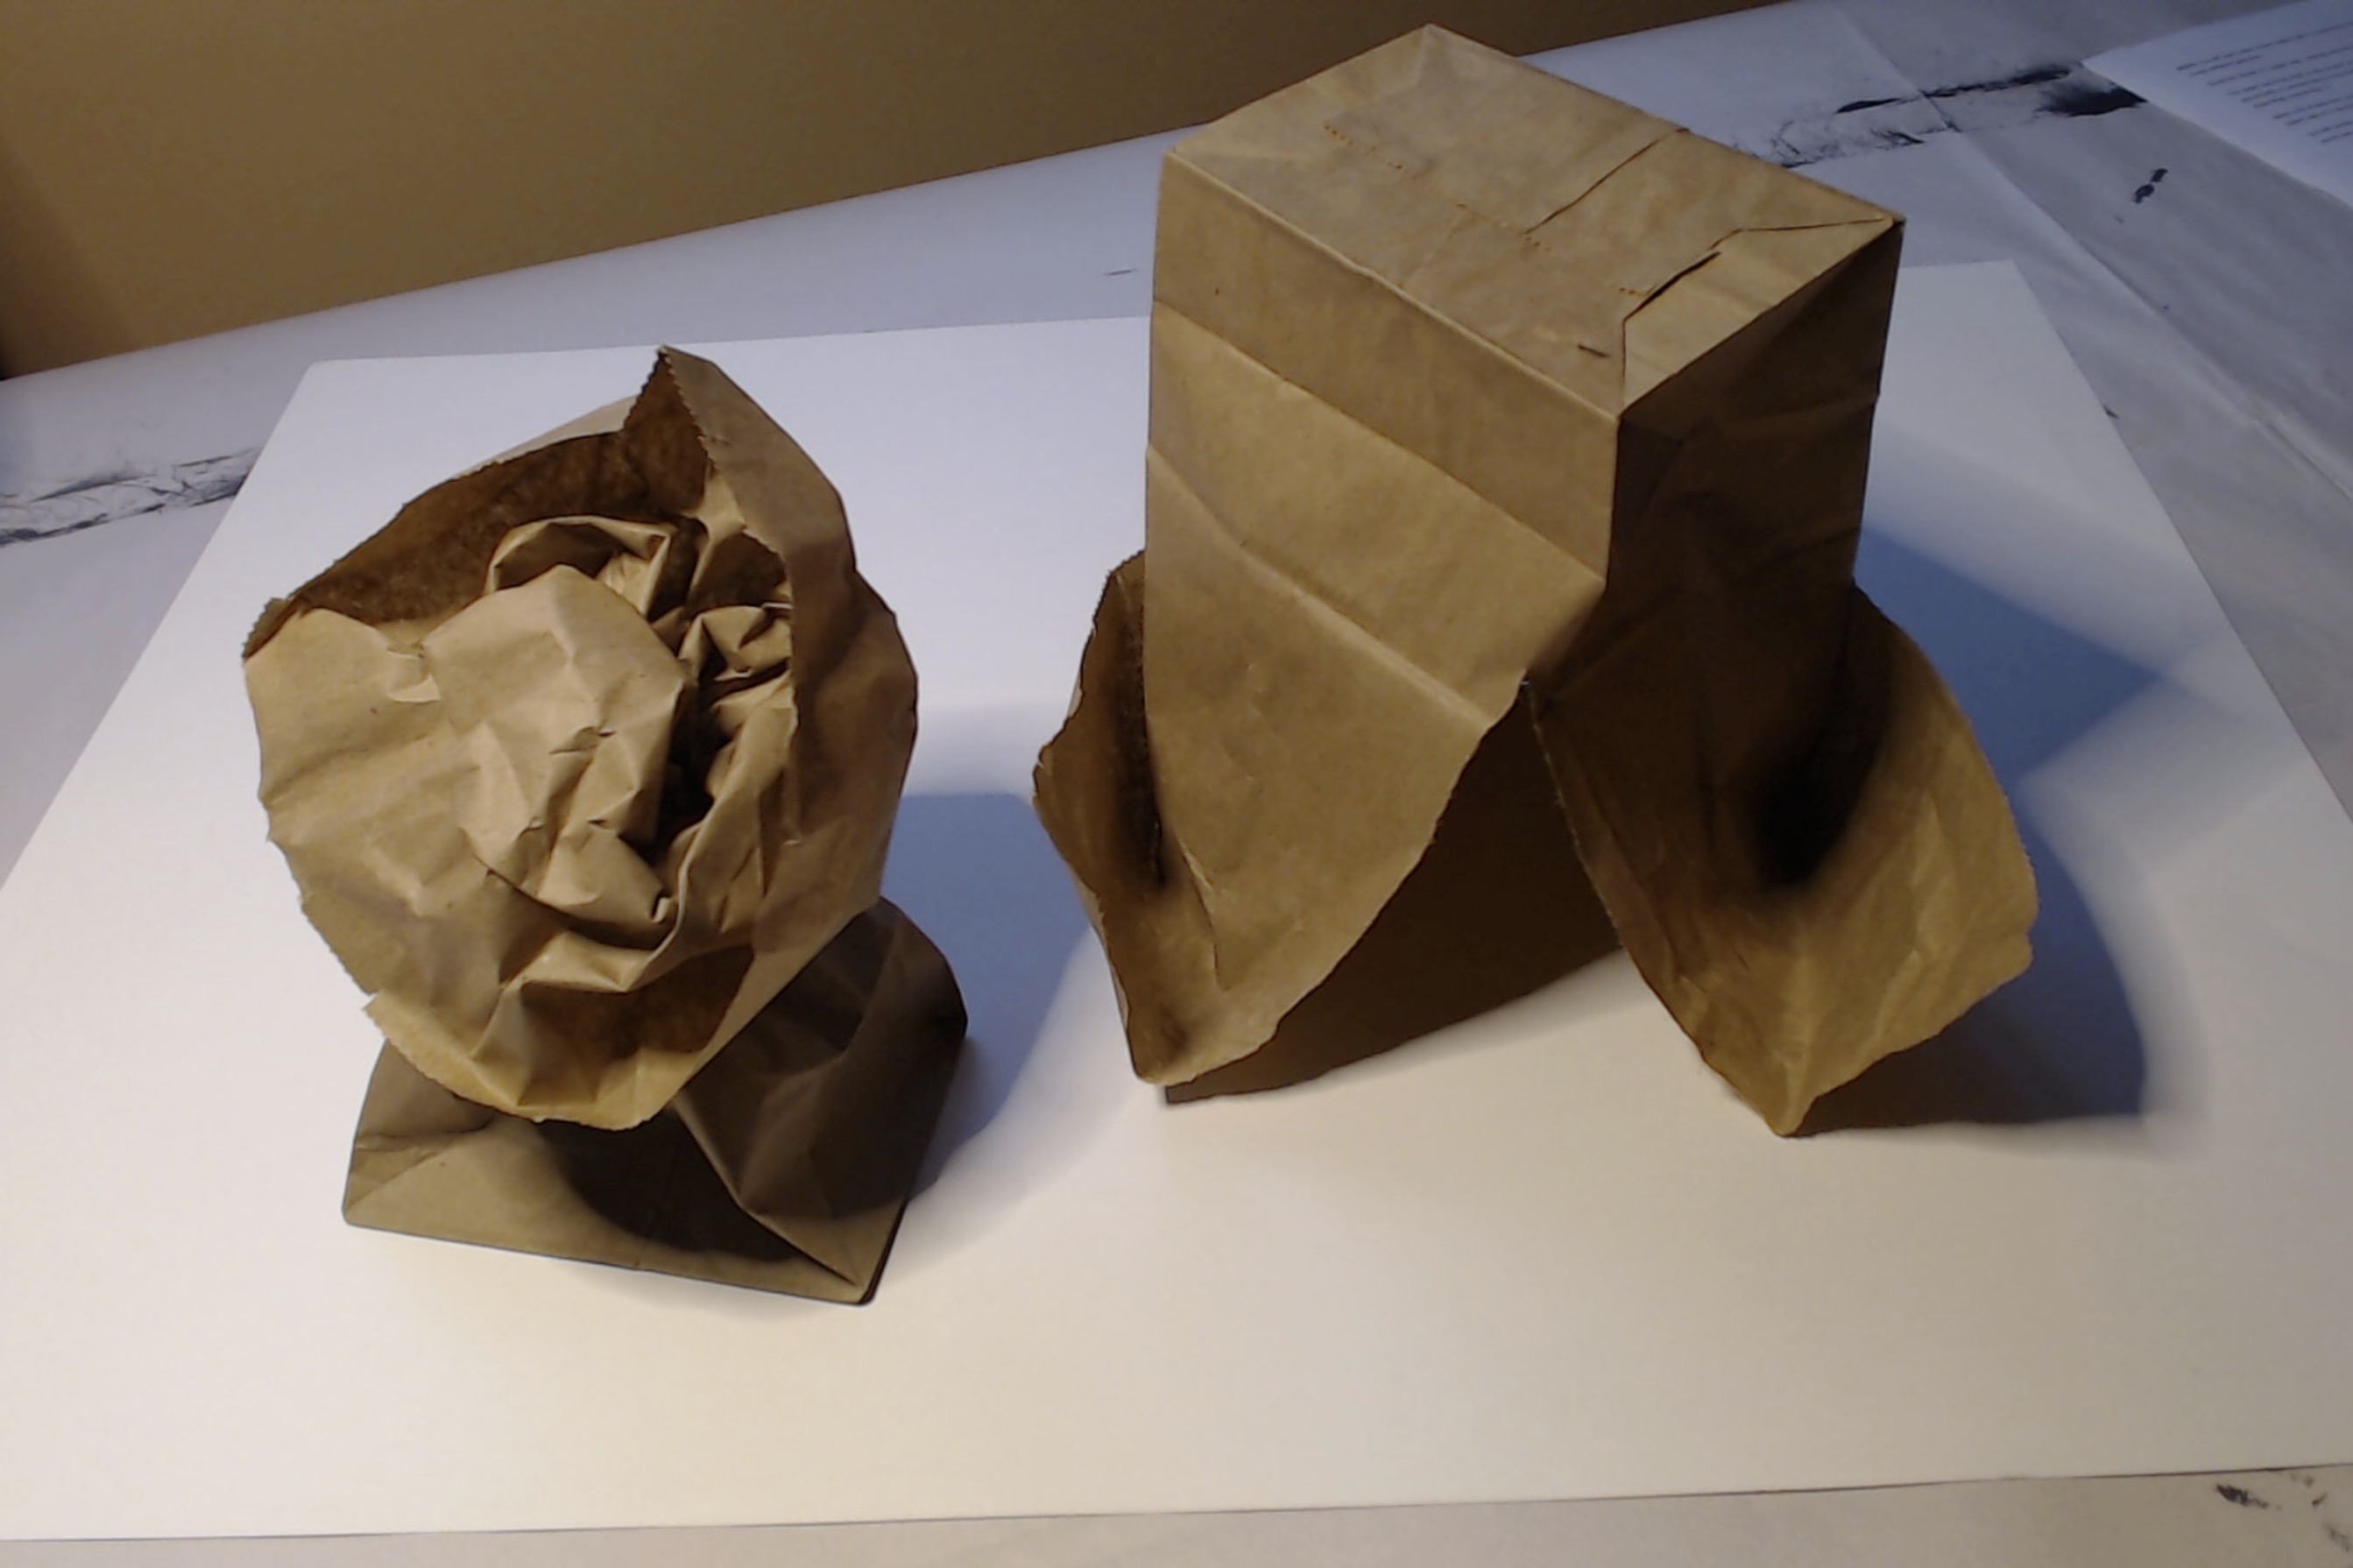
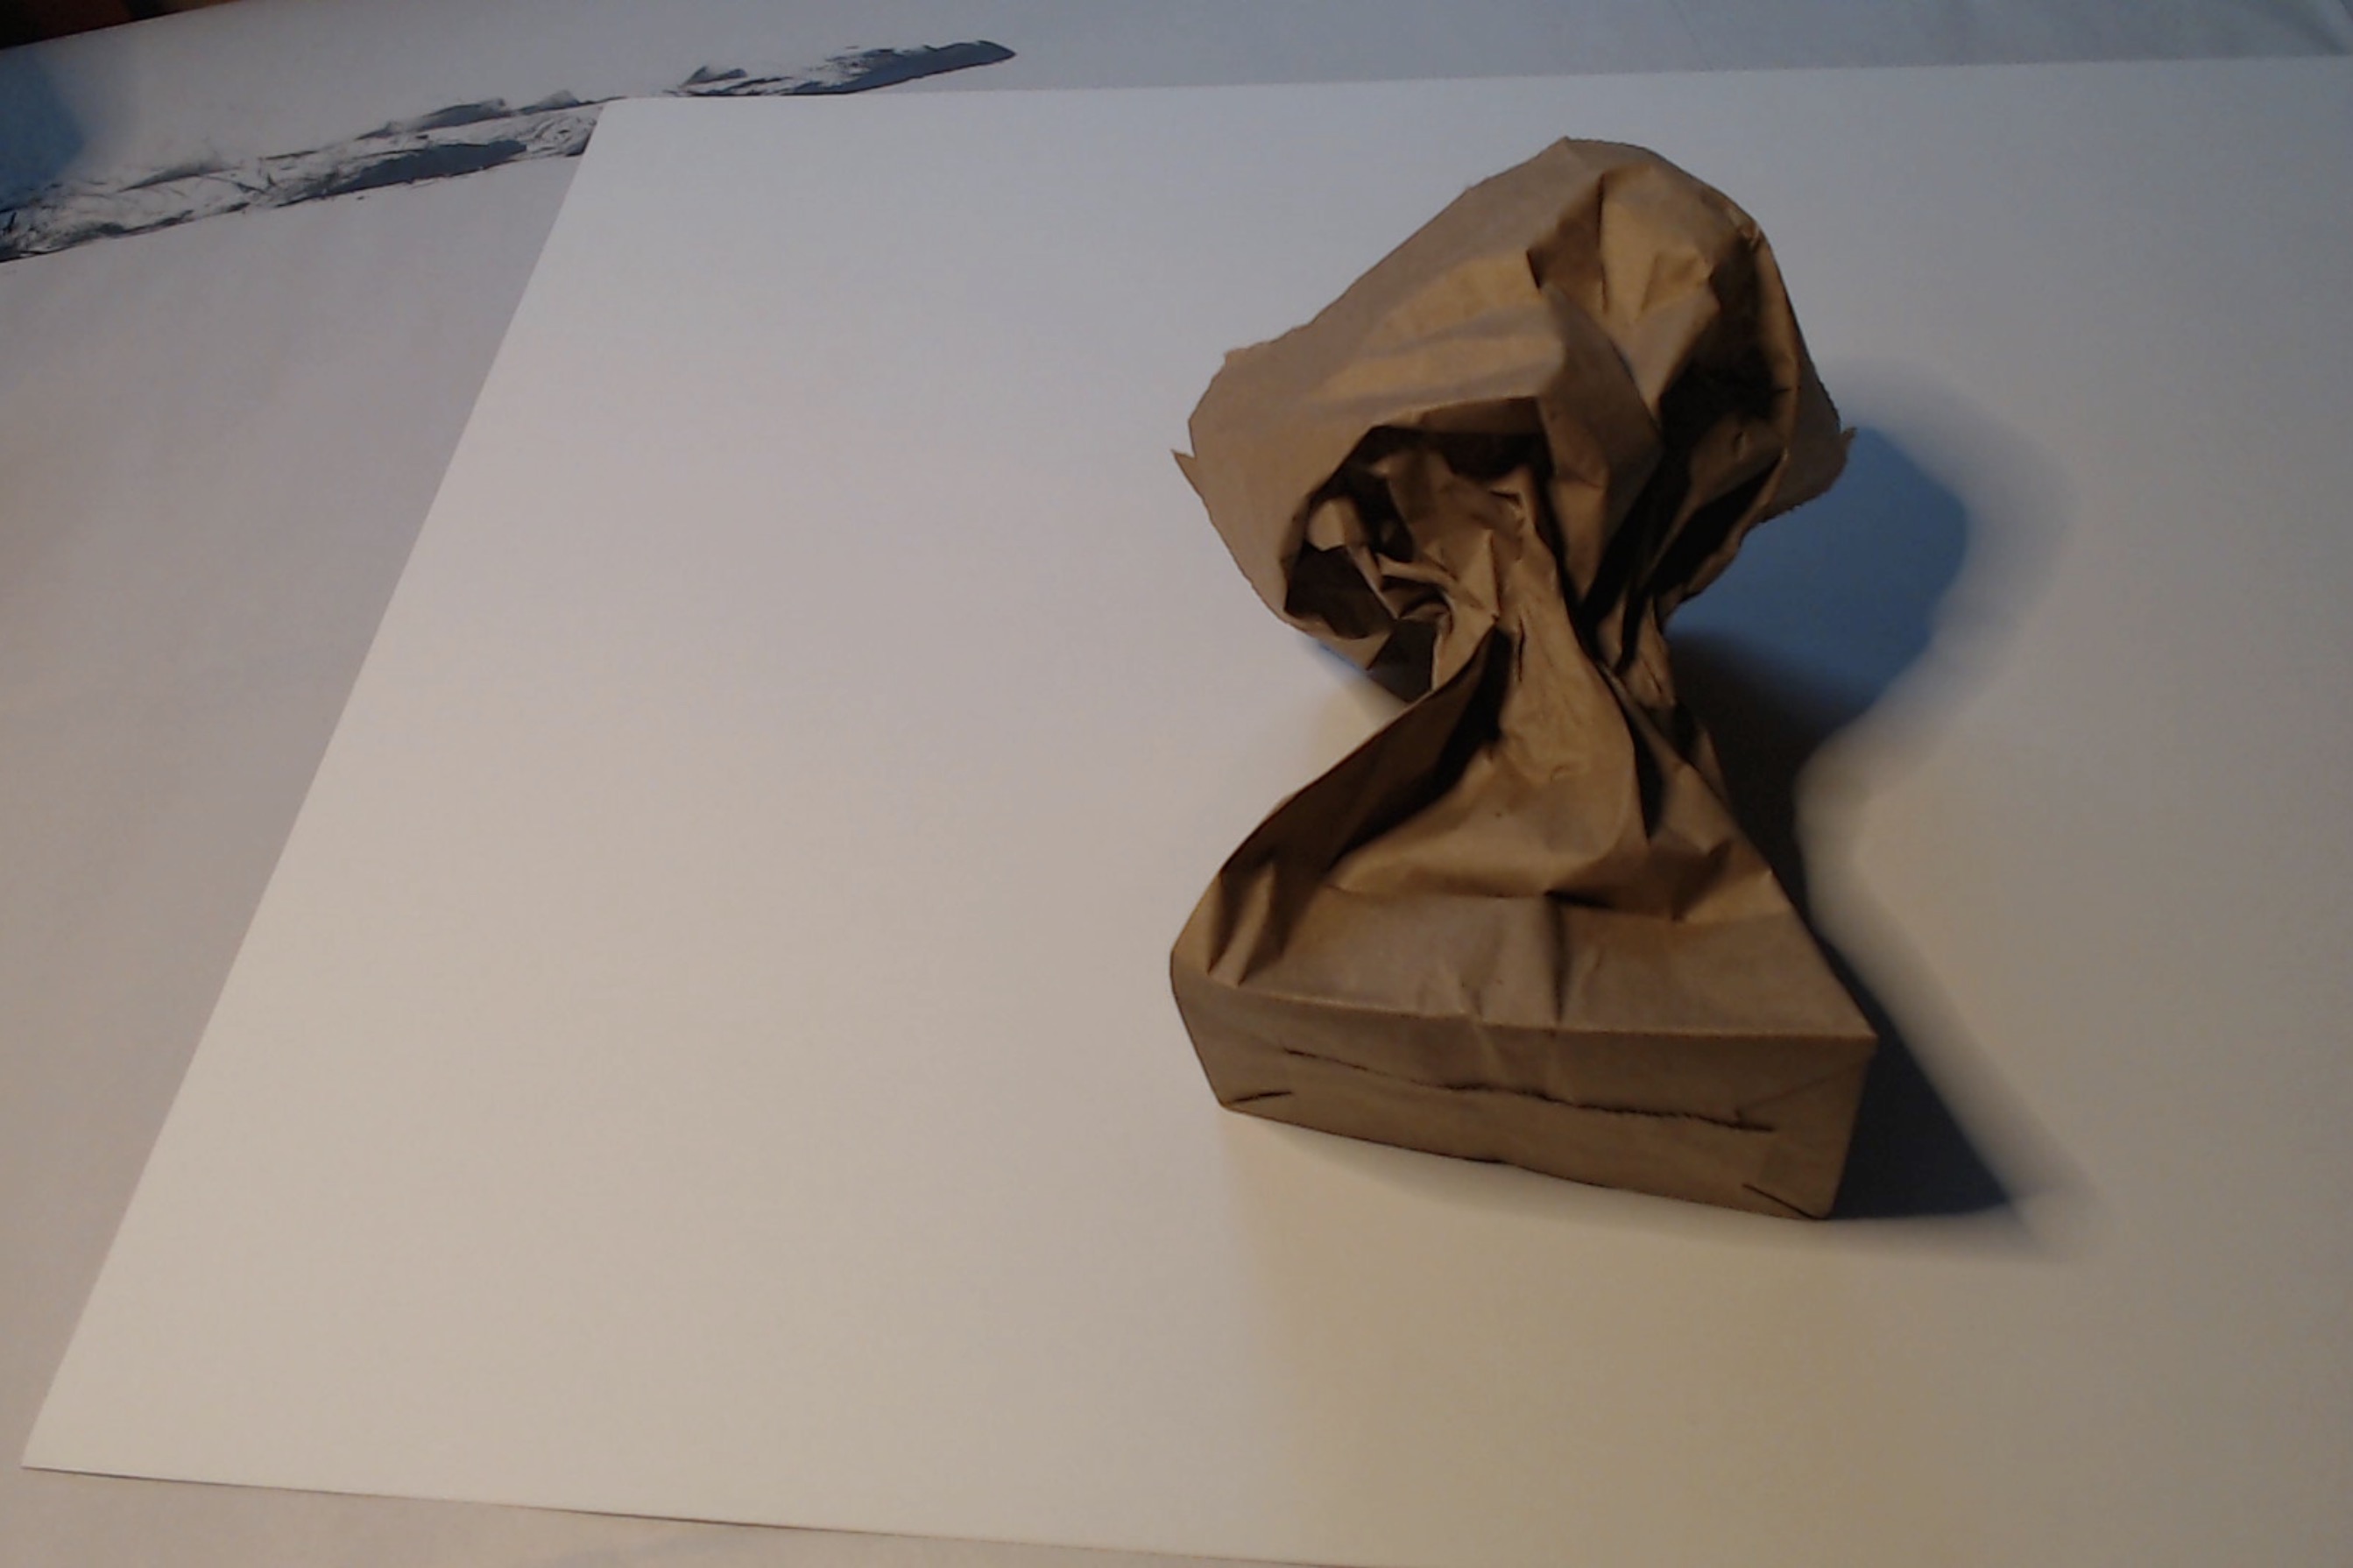
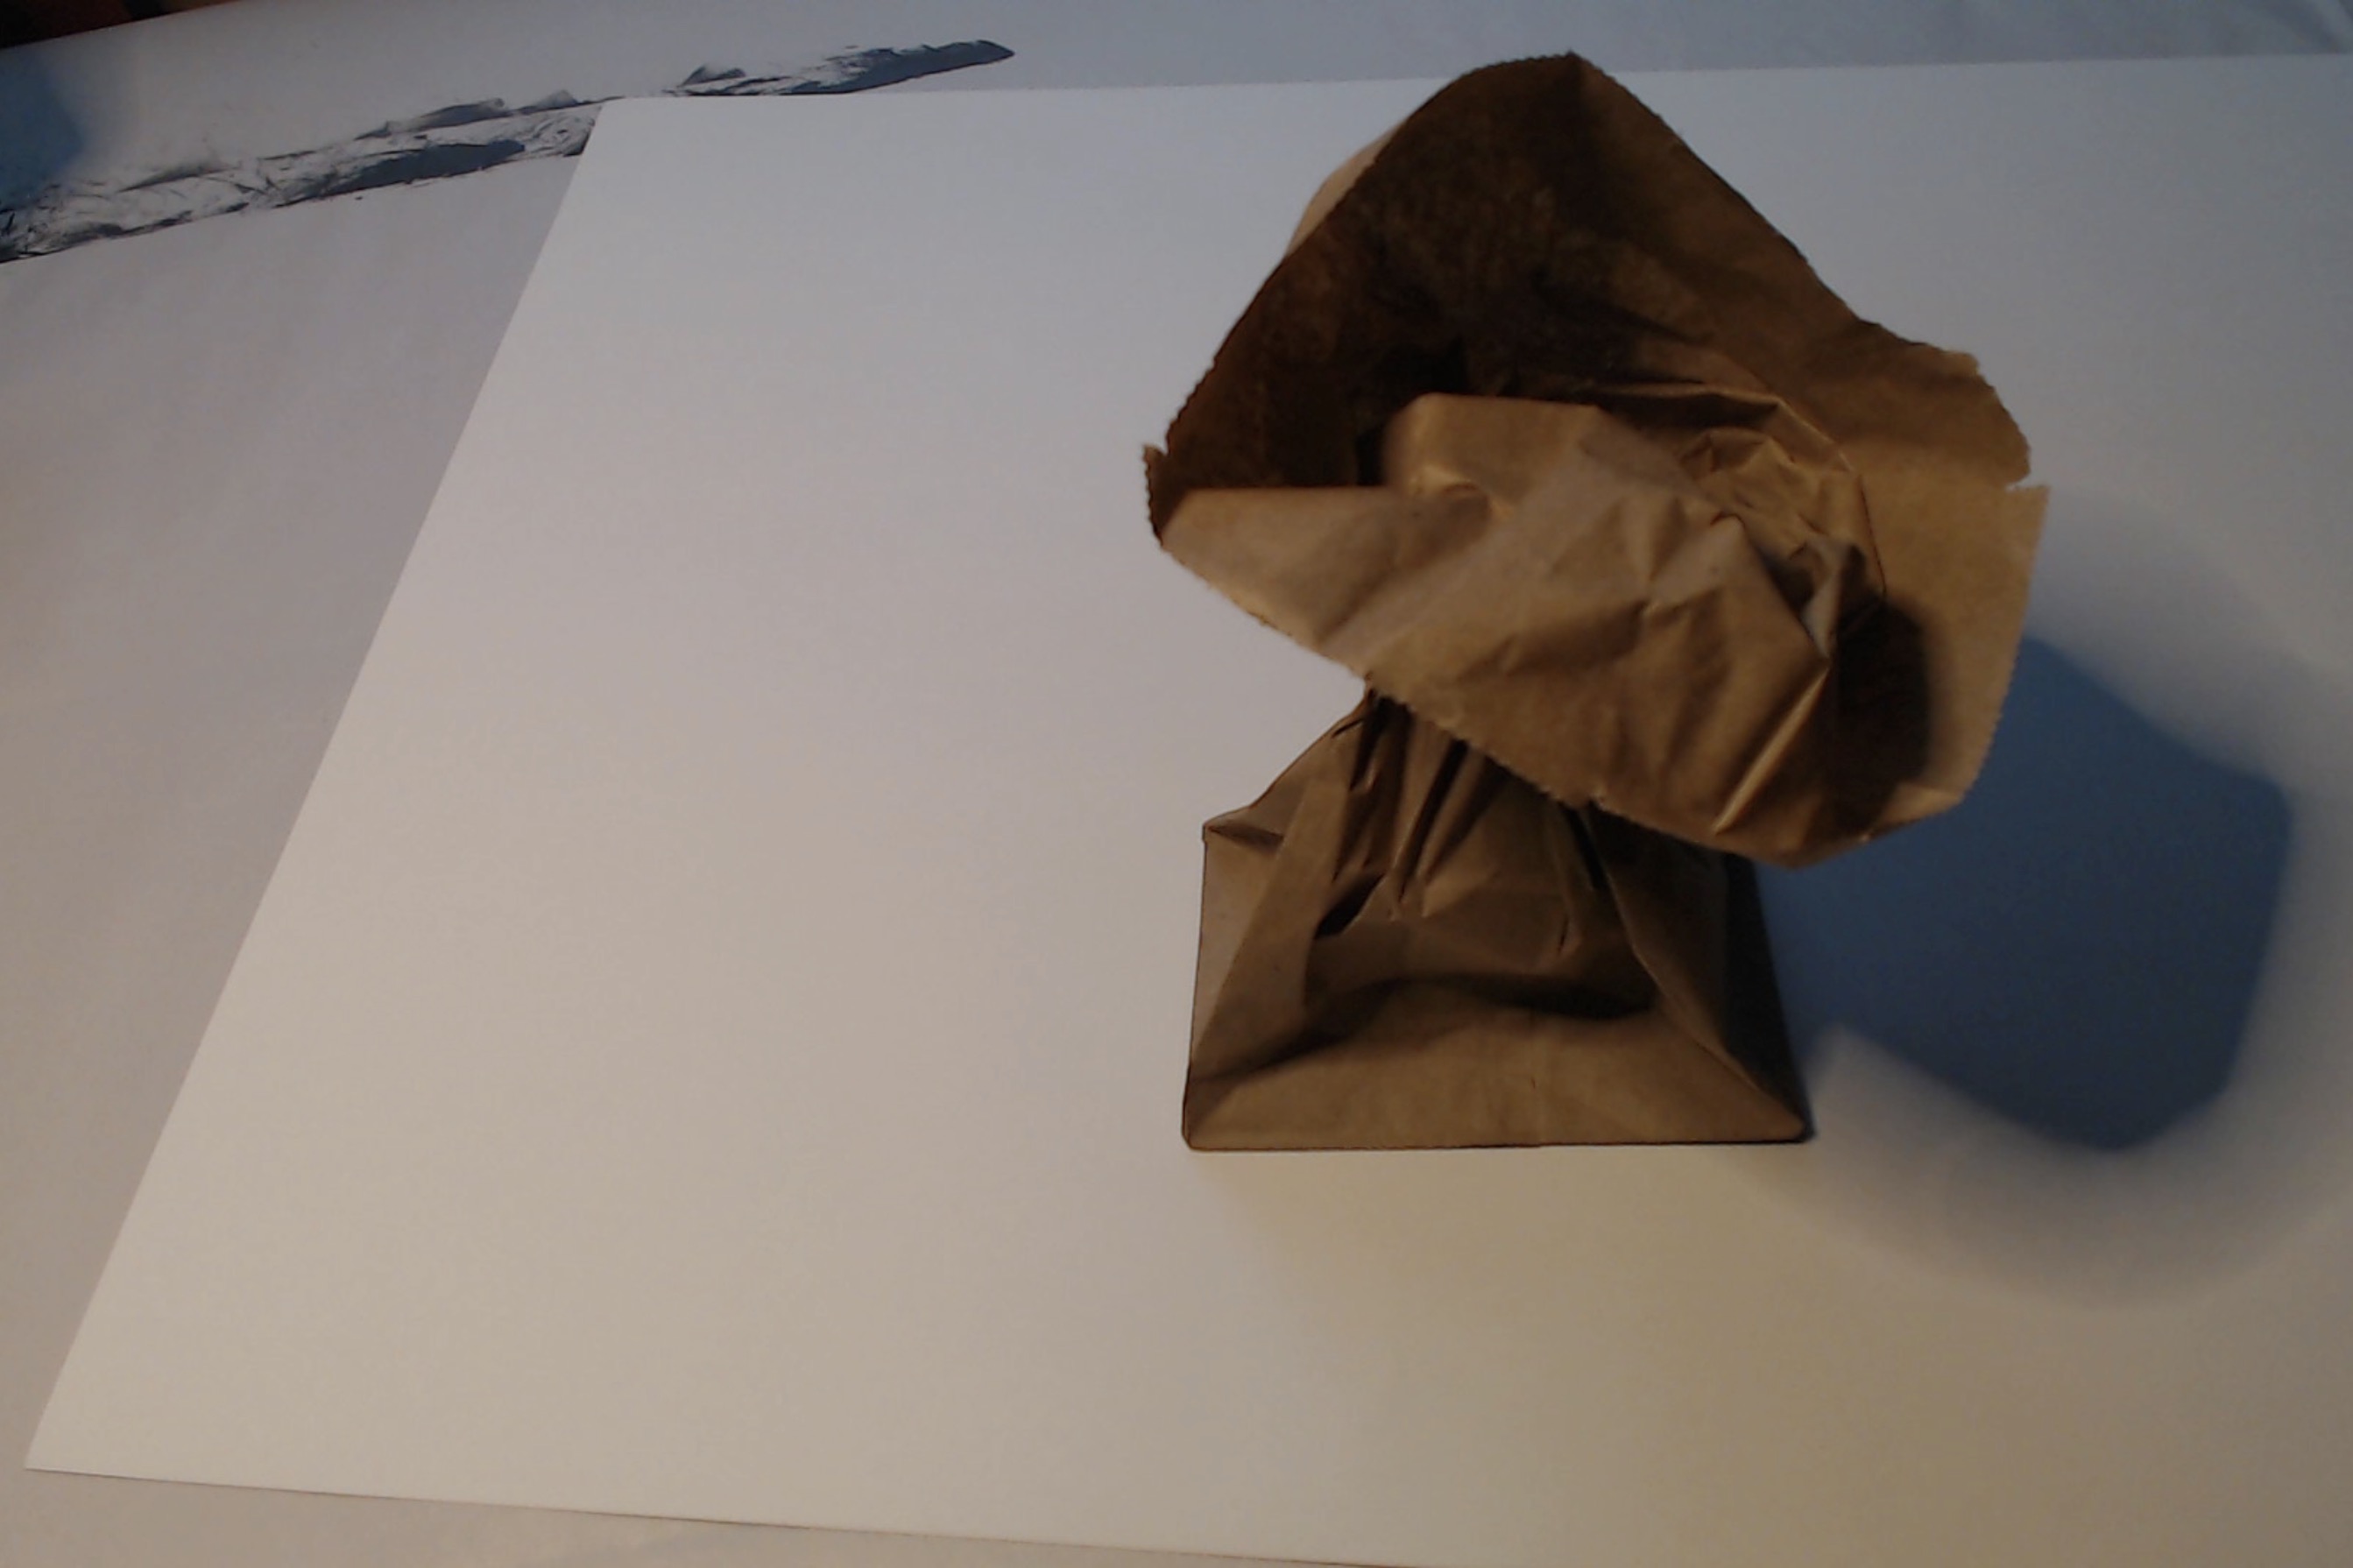
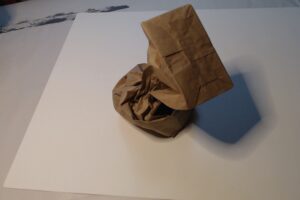
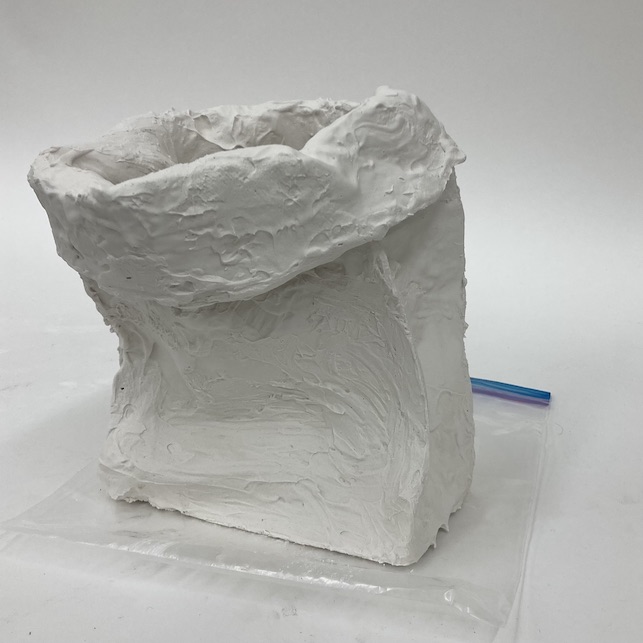
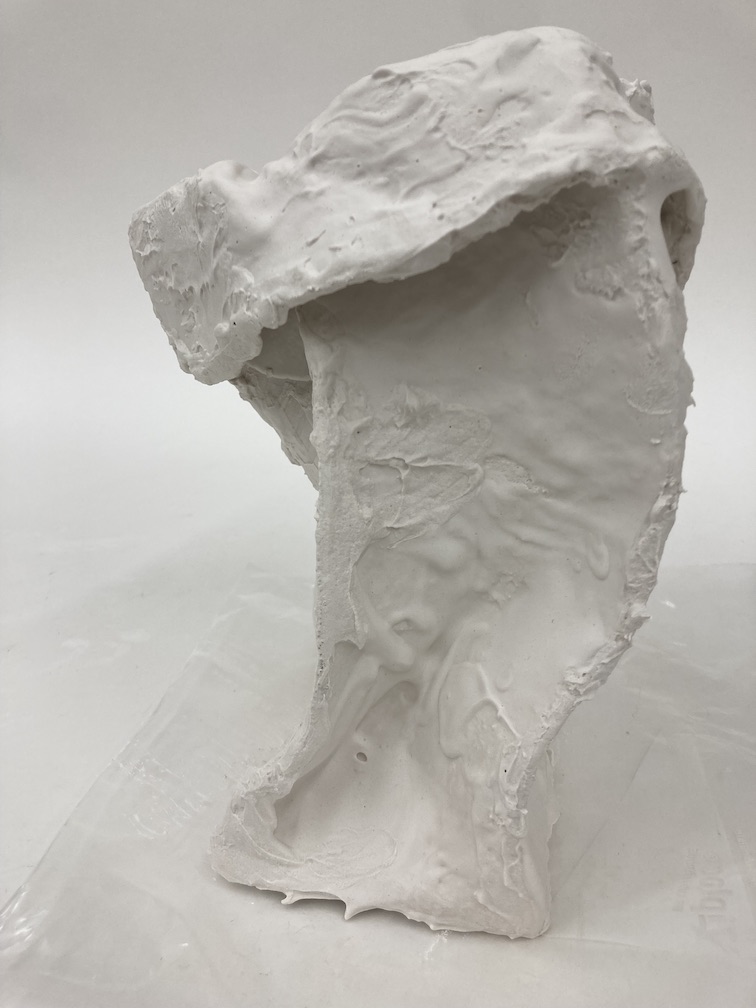
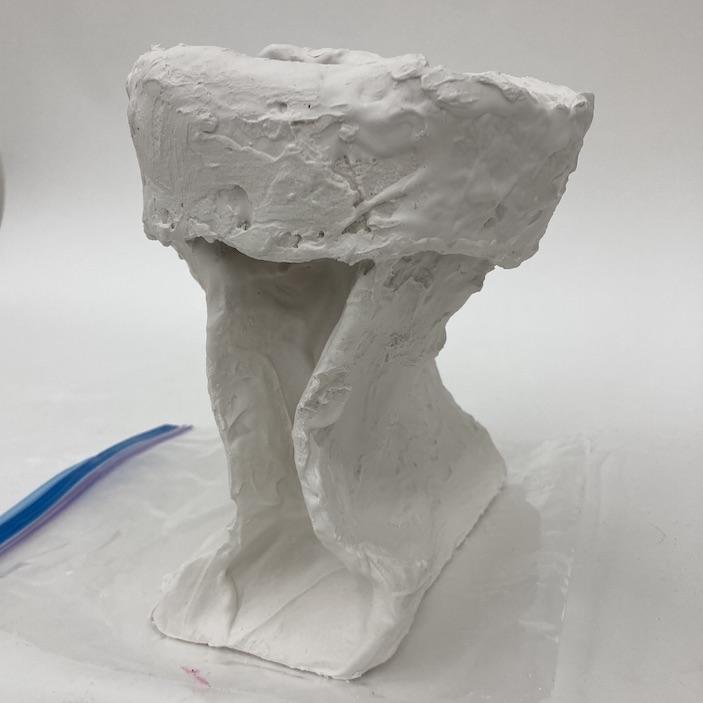
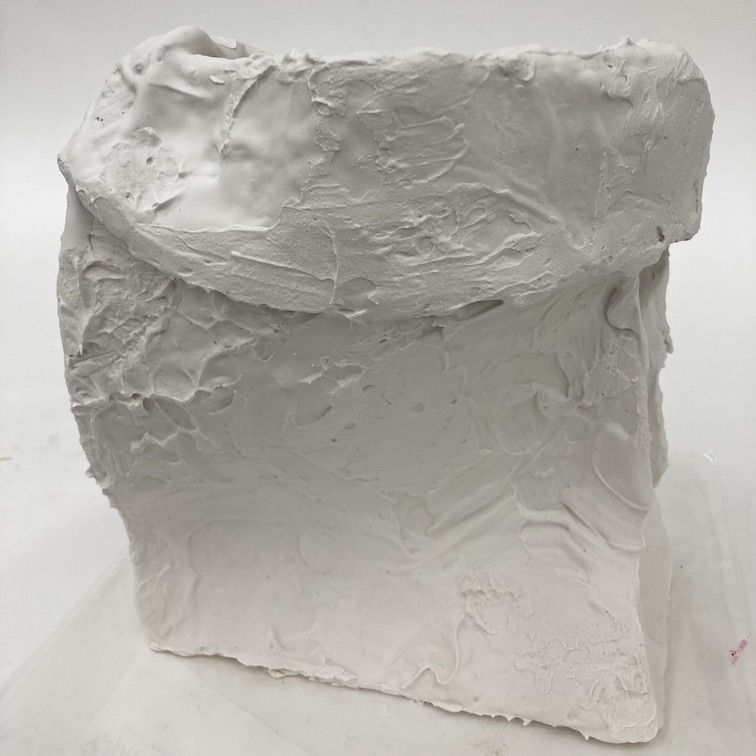
FINAL VERSIONS: sanded to a point where the plaster read to me as rock that is worn enough that it is not jagged but not fully smooth – it retains raised areas or seams or soft bumps. See below:


Reflections October 23: I was uncomfortable with plaster work to start — unfamiliar, hard to control, and not much idea what to go after since I had little idea how malleable wet plaster would be nor how sanding would go. So, a decision to just go with the process, learn along the way. Earlier ideas that I would make it a very smooth surface weren’t workable given the thickness/lumpiness of my original plastering – so it became about exploring what texture could be interesting given the limits I was working in. And… I discovered (or really, re-discovered) that I like working within limits. I think it stimulates my curiosity to find the beautiful thing that exists inside those limits. Given (theoretically) no limits on what my hands or tools or medium could do, I think I’d freeze up from too many options. Limits are my friend. As for the mesh bag half of the project — it kind of slipped my main attention, because the plaster was such an overwhelming learning curve — but I will say that it had really pleasant echoes of Unit 1, being more like working with many lines all at once. The artists I had researched last unit made much use of woven wires or sheets of wire in their works — that’s what I was doing with the wire screening material for this bag. It’s something I might come back to. It would be interesting to include silver and black coloured wire mesh to amp up the shadowing possibilities.
